There few things I love more than an overnight backpacking trip. The only things that come to mind are an overnight backpacking trip in Alaska and an In-&-Out Burger after an overnight backpacking trip (unfortunately, we don’t have any of those in Alaska).
Whether you’re a weekend backpacker living in Anchorage or you’re just in town for a bit and looking to tackle a trail, below you’ll find my five favorite overnight backpacking trips. As you’ll see, my formula for a great trip is usually a nearby alpine lake to set up camp and an awesome peak to bag in the morning. Obviously, you can easily stretch any of these into a two nighter if you want.
All of these trips are very close to Anchorage (except for Reed Lakes which is outside of Palmer, about an hour away). You can download a map of these areas on the Chugach State Park site. Please drop me a comment or get in touch if you want any specific advice.
Tips for Planning an Overnight Backpacking Trip Near Anchorage
- Renting a Car: Essential for accessing trailheads outside of Anchorage. There are very few public transportation options, although you could probably work it out with the day shuttle to Flattop to pick you up a day or two after the drop you off (assuming you start at the Glen Alps / Flattop TH). You can check out this guide for getting a rental car for cheap in Alaska.
- Backpacking Tips: Take a look at my ultimate guide to backpacking in Alaska where I break down everything I think you should know before trekking into Alaska’s backcountry.
- Permits & Fees: Most trailheads require a Chugach State Park parking pass. You can pick up an annual one for $60 or just pay the day fee at the trailhead for $5. Make sure you have cash.
- Weather Considerations: Always check conditions as weather changes rapidly in Alaskan mountains. Even if the weather looks decent, expect the worst. Bring layers and waterproof clothing.
- Alternative Hikes: Ultimately, you can choose almost any of the hikes on my best day hikes in Anchorage guide, and turn them into an overnight backpacking trip. Many of the hikes below are extensions of those day hikes.
The Five Best Overnight Backpacking Trips Near Anchorage
1. Triangle Peak via Symphony and Eagle Lake
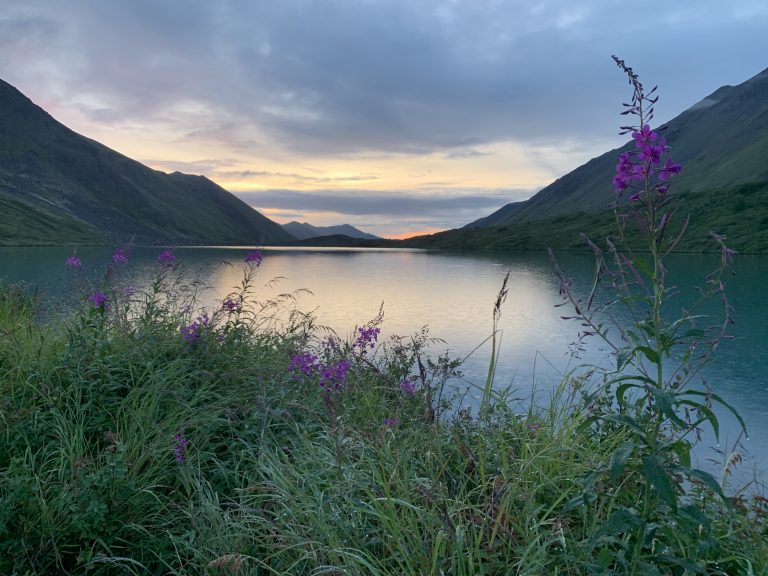
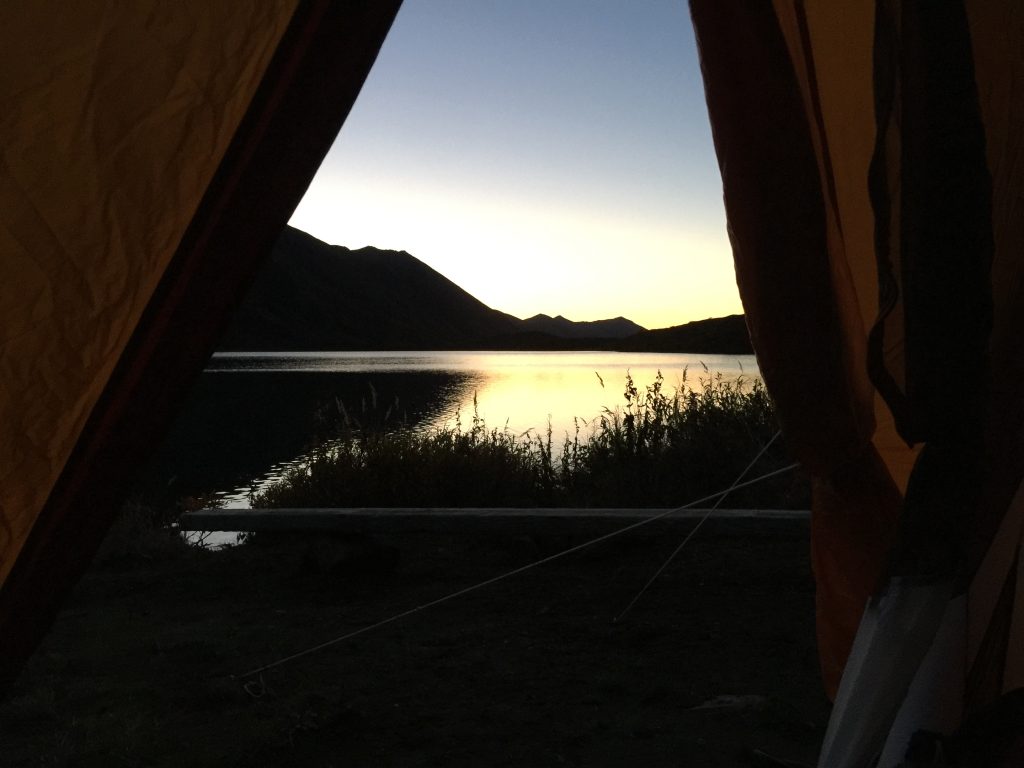
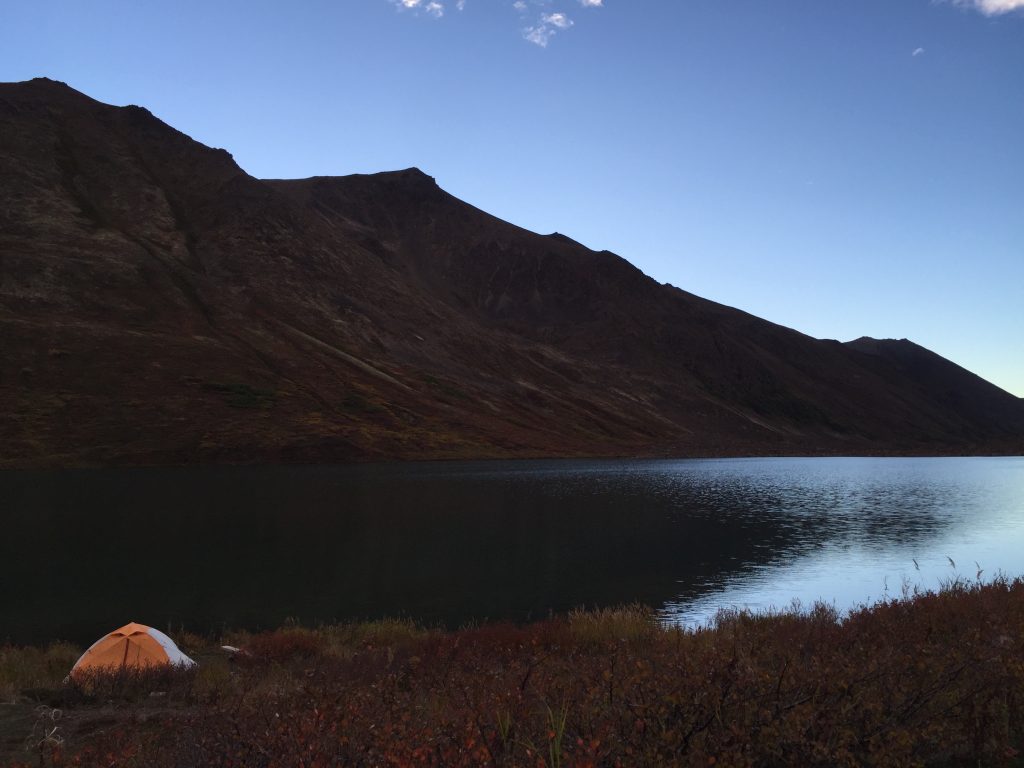
This is an epic hike and a trip I often take visiting friends. The reason I like it is that there is almost no better camping spots than alongside Symphony Lake where the sunsets are absolutely spectacular. Next, the climb up Triangle Peak is tiring, but it’s not technical and doesn’t require any scrambling or walking along cliff edges. There is an alpine lake that you pass along the way which makes a great resting place and, from the top of the peak (4710 feet), you get amazing views of Anchorage and the back range of the Chugach.
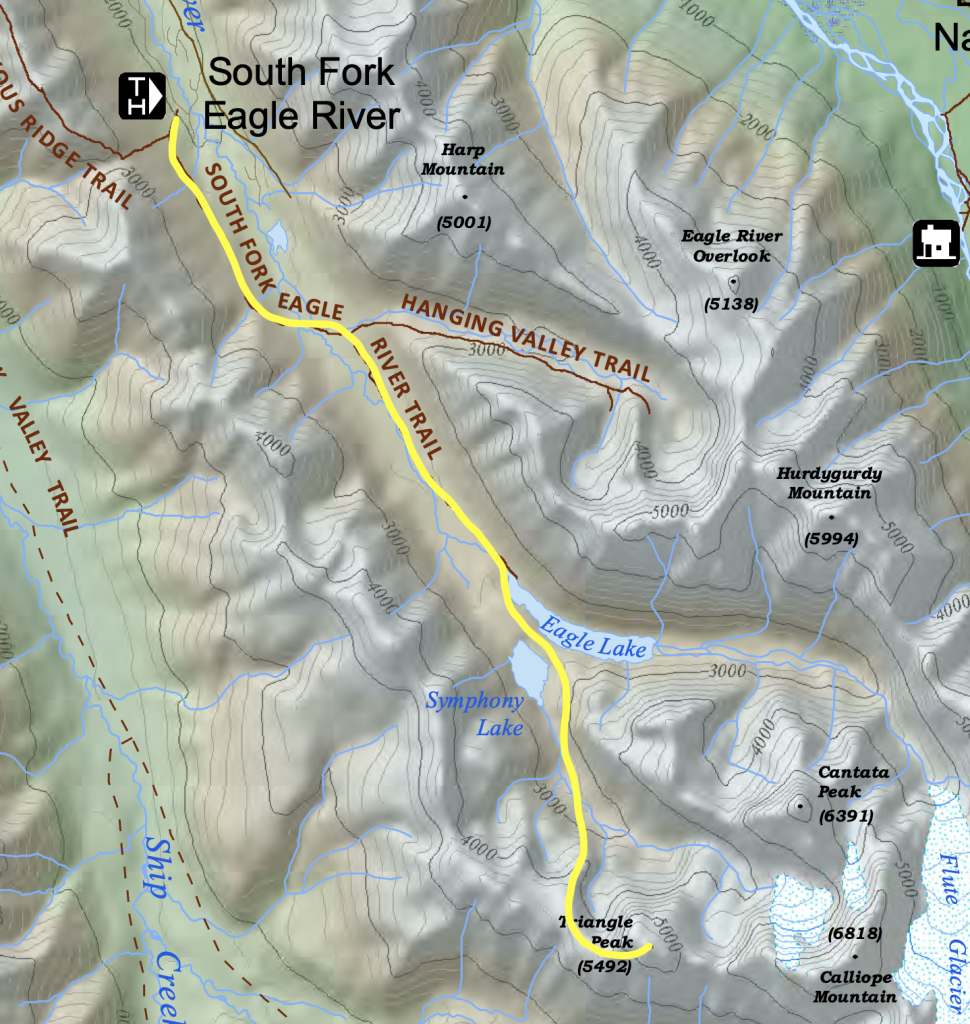
- Trailhead: South Fork Valley Trailhead
- Distance from Anchorage: Approximately 7 miles
- Distance: 19.6 miles out and back
- Elevation Gain: 4,600 feet
- Permit/Pass Required: Chugach State Park parking fee
Where to Camp:
Camp near Symphony Lake. There are a few flat campsites around the lake. Definitely bring bug spray though as the mosquitos can be annoying.
Itinerary:
- Day 1: Start from the South Fork Valley Trailhead, following the trail toward Symphony and Eagle Lakes. You’ll face a steady uphill through the mountain valley. The trail is very clear. At the end, you’ll cross a boulder field and then come up on Eagle Lake on your left and Symphony Lake on your right. Take some pictures and wait for an epic sunset.
- Day 2: Start early for the ascent to Triangle Peak the next morning. You’ll basically follow the trail about half way around Symphony Lake. From there, you’ll cross the little river and start climbing. There aren’t clear trails at this point, but it’s pretty hard to go off course. You’ll hit another alpine lake after your first ascent. From there, you’ll veer left and take the ridge up to the higher ridge. Once you get on top of that ridge, you’ll see Triangle Peak. Just follow your way to it. After summiting, return to camp, pack up, and begin the descent back to the trailhead.
2. Williwaw Peak
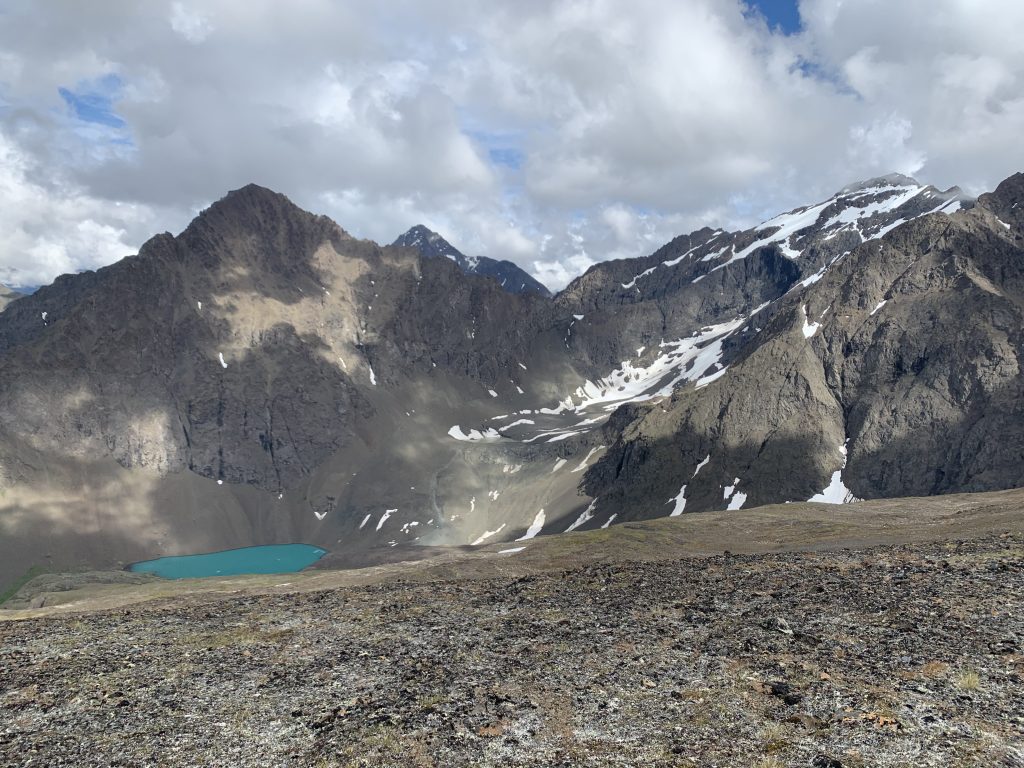
Williwaw Peak (5445 feet) is one of the 12 summits in the Chugach over 5,000 feet. While that might not sound that high, considering how far north Alaska is, you’re facing similar conditions at that altitude that you might face at 10,000 feet in Colorado, or 17,000 feet in South America. Williwaw is an epic peak to bag and requires some decent route finding. There is also one section that requires some bouldering over about 15 feet. It’s not very technical, but it is scary. If you fell here you would get seriously hurt. We had a party of four when we did it.
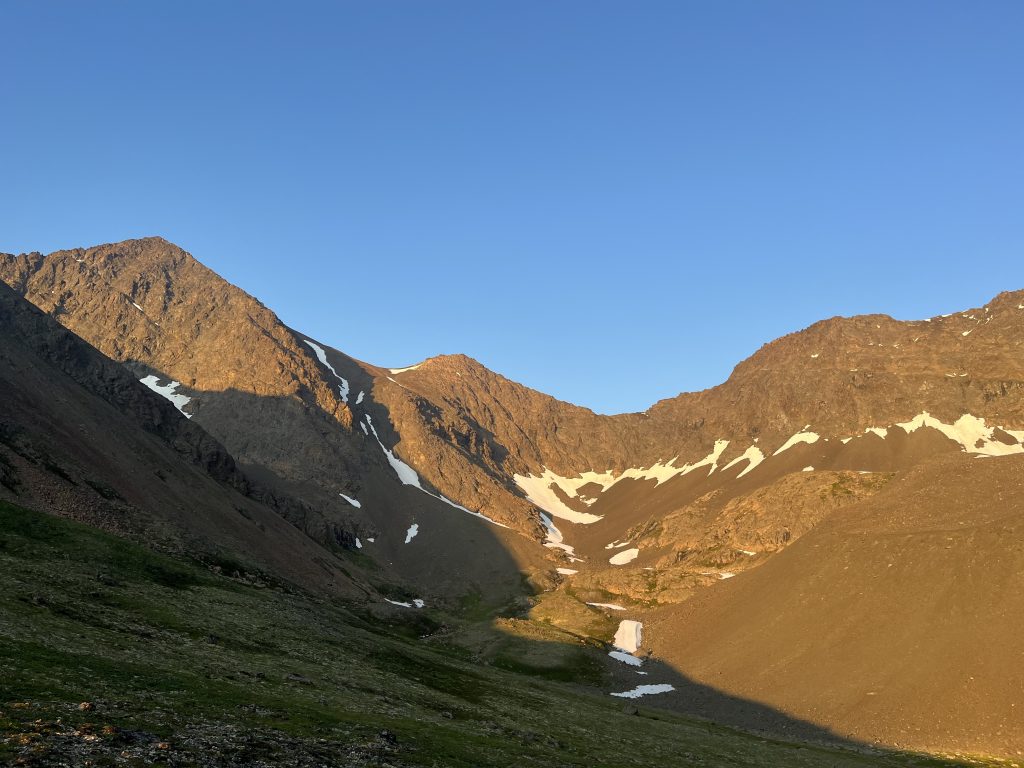
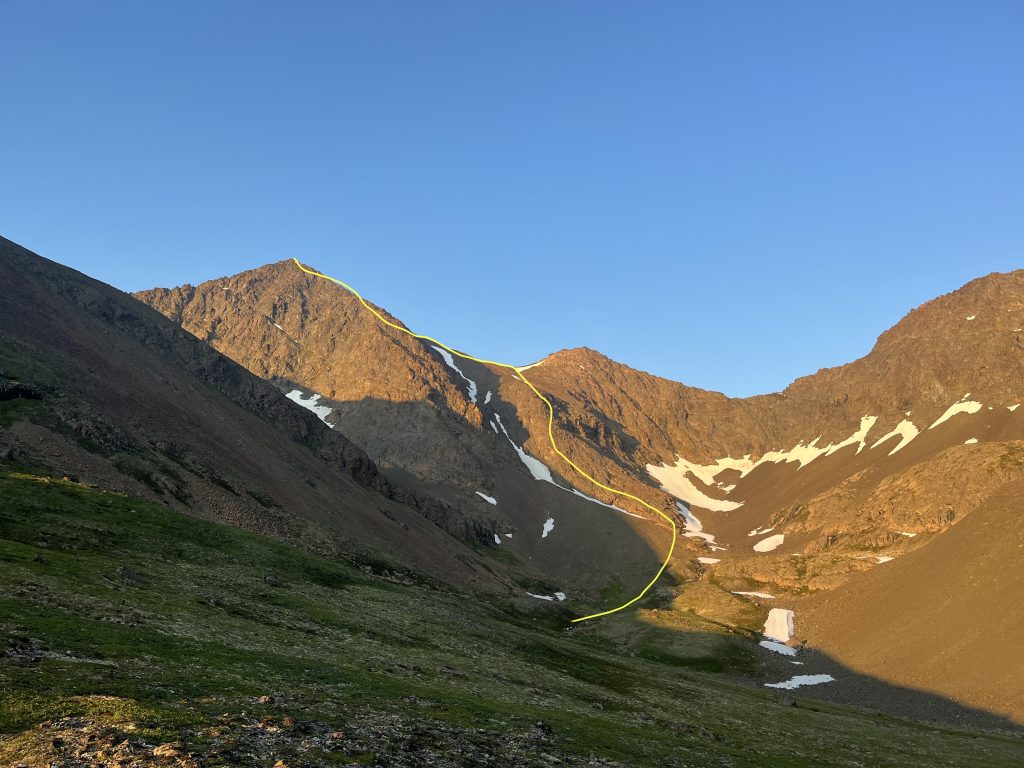
There is pretty distinctively one way up. You’ll see that I marked the image below with the route. Go to the right of the snow patch hugging the mountainside. There’s not really a way to get lost here as, if you veer too far to the right or the left, you’ll find sections that are super exposed. Stay away from anything too exposed and get ready to boulder a bit. Past the one difficult bouldering section, I found the route to be pretty intuitive and not very difficult.
We’re all good backpackers but not amazing climbers and we all managed just fine. We also had no issue coming down. Just make sure to remember the route as you go up. We did the South Route and while, there is no trail up, we used this guide and our instincts and made it up fine.
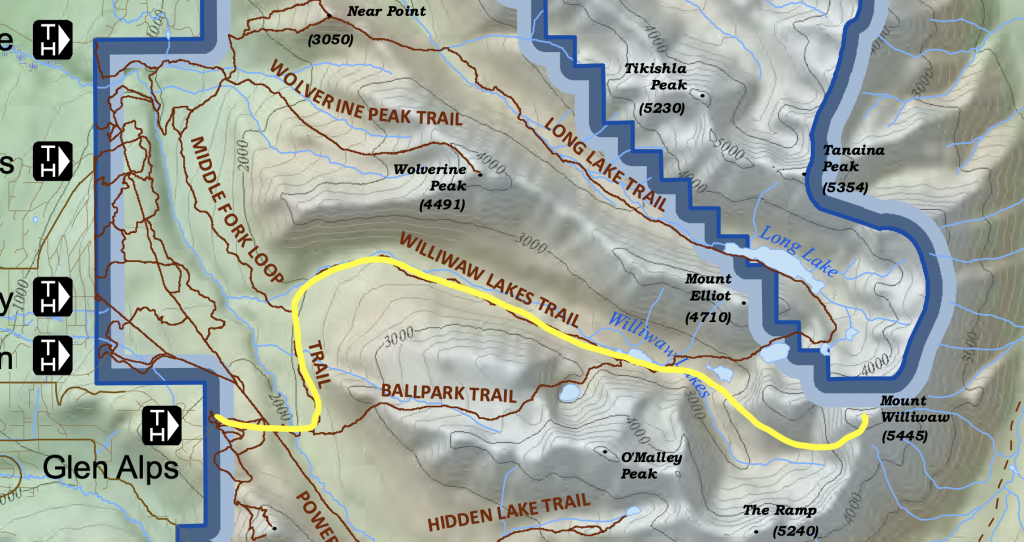
- Trailhead: Glen Alps / Flattop Trailhead
- Distance: 15 miles round-trip
- Elevation Gain: 5,937 feet
- Permit/Pass Required: Alaska State Park Pass or $5 at the TH
Where to Camp:
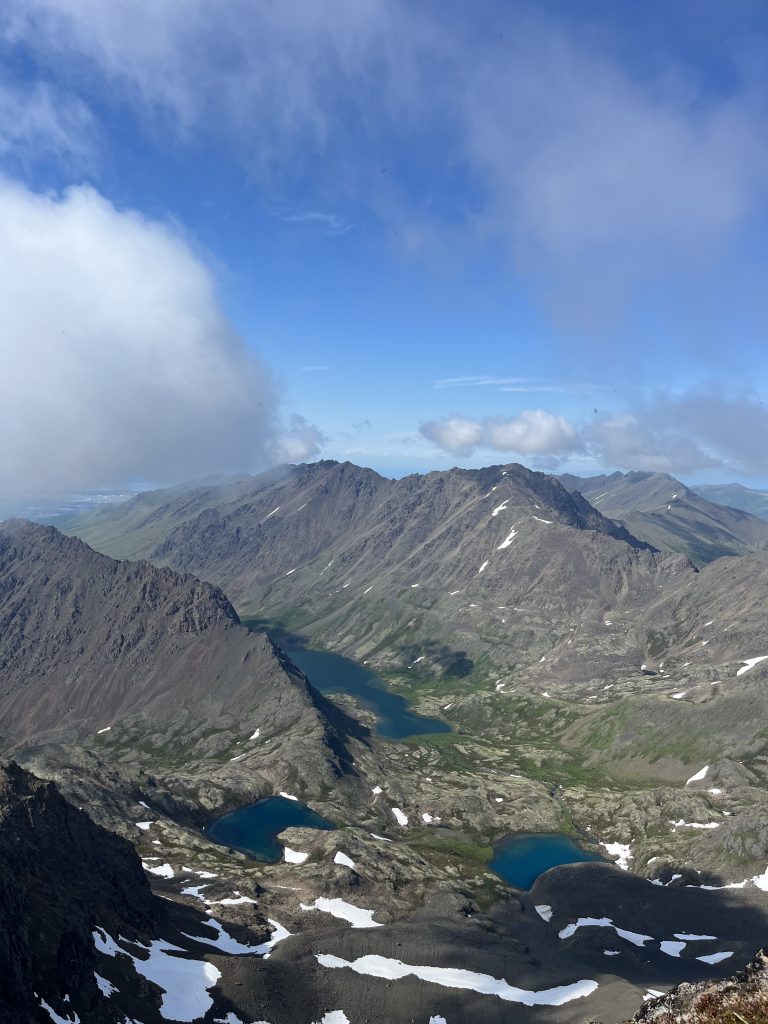
There are great places to camp near Williwaw Lake, but we personally set up camp further into the bowl near this unnamed lake. The wind can really rip through here, so bring warm layers. It’s called Williwaw for a reason (a Williwaw being a native term for the weather phenomenon where wind gains momentum as it comes off mountains and rips down through valleys and into the ocean).
Itinerary:
- Day 1: Begin at the Glen Alps / Flattop trailhead and follow the trail markers to Williwaw Lake. You’ll pass through Powerline Pass and, instead of going right up to the Ball Fields and O’Malley Peak, you’ll go left and follow a pretty flat trail. It will start to circle around Little O’Malley and head into the valley. Keep going after Williwaw Lakes until you get into the bowl. You’ll see Williwaw Peak towards your left when you arrive. Settle in for the night.
- Day 2: Start early to reach the Williwaw Peak summit. Follow the advice I gave before in the ascent. Get up and get down, pack up and return back to the trailhead.
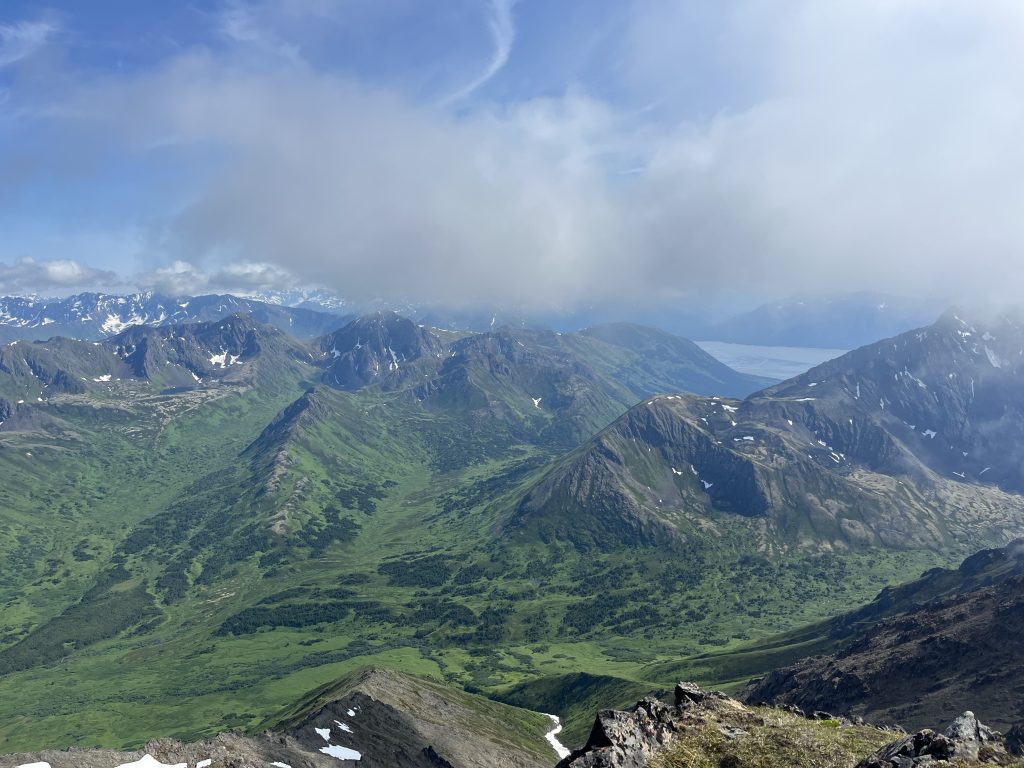
3. South Suicide Peak from Rabbit Lake
Don’t let the name deceive you. This is not that dangerous of a climb. There are specific sides of this mountain that people have died on, especially during winter ascents, but summertime ascents of the Suicides are very doable. I have taken a friend without much mountain experience – but they are in good shape – up South Suicide, and he did just fine. There’s a little bit of scrambling, but nothing is very exposed to too difficult. However, it is a coveted Chugach peak, being one of only 12 above 5000 feet.
I personally have only climbed South Suicide (5005 ft). If you want, you can always climb North Suicide in the same day. However, for the purposes of this guide, South Suicide is the recommendation.
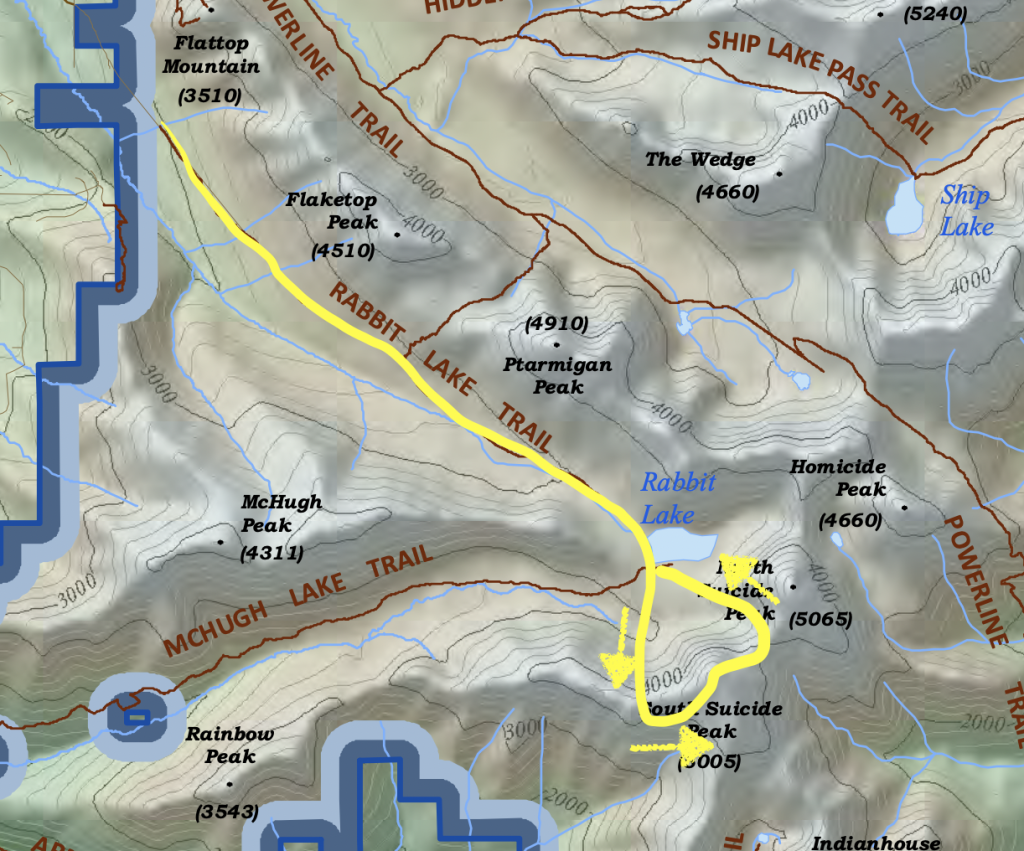
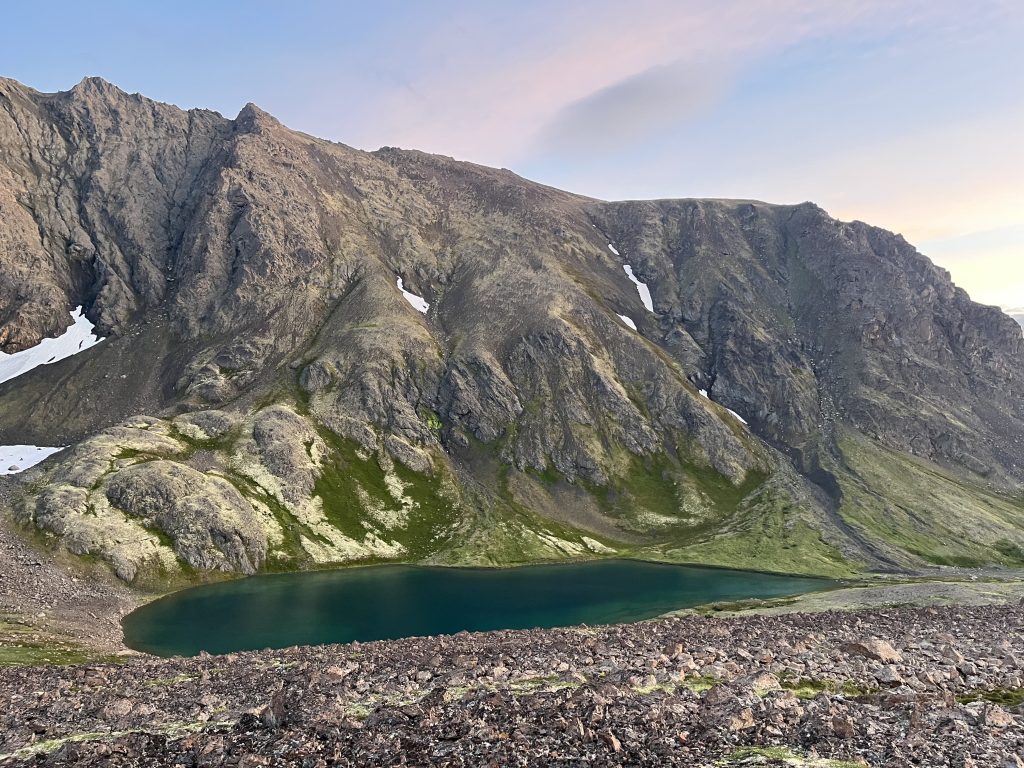
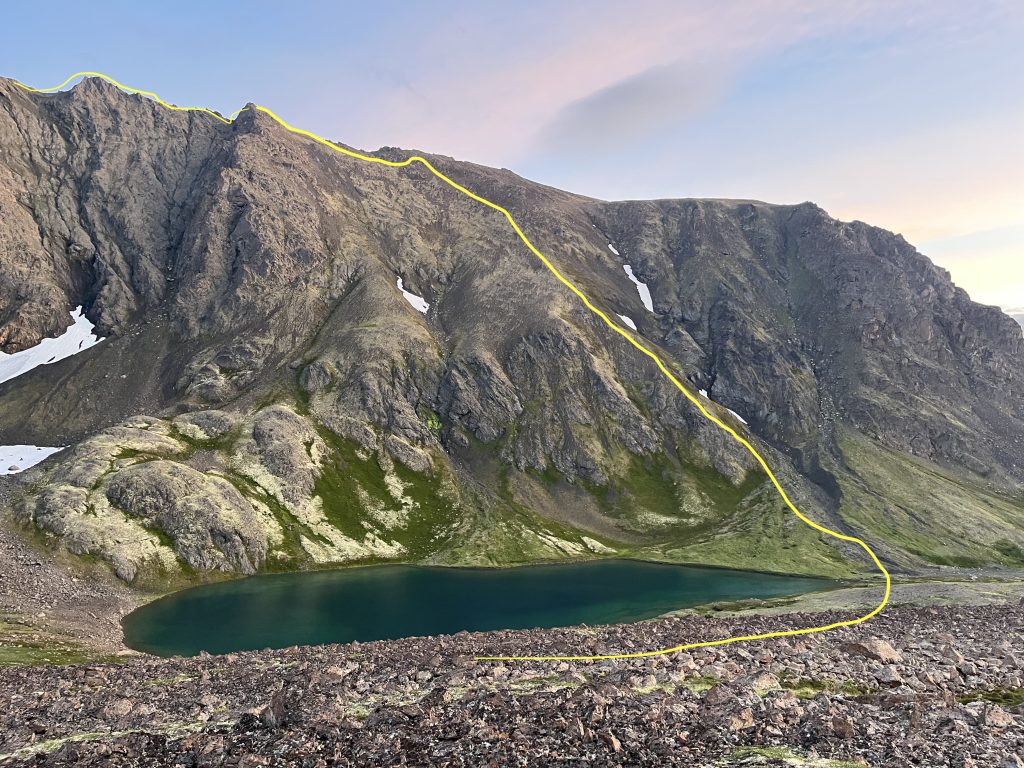
To make this climb, you will follow the trail to Rabbit Lake. When you arrive and are standing, facing the lake, you’ll see North Suicide to the left and South Suicide to the right, separated by a saddle. You have two options for summiting the South peak. The first is that you head straight up the scree slope towards the saddle and tackle the peak from there (this is not recommended as it makes for a very difficult climb up, especially if there’s snow). Or you go the right side of South Suicide, get on the ridge, and take the peak from there (that’s what we did). I personally liked that climb more than having to tackle the steep scree slope.
To take this route, head to the right of the peak until you hit an alpine lake (called McHugh Lake). Stay to the right of this lake and climb to the ridge on the least steep part of the mountain side. Once you hit the ridge, follow it up towards the peak. There’s nothing too difficult here, but it does take some route finding and sure footing.
Once you hit the peak, you’ll want to head down to the saddle. From here, you can climb the North peak, or you can just take the scree slope back down to the lake.
- Trailhead: Rabbit Lake Trailhead
- Distance: 11 miles round-trip
- Elevation Gain: 3,500 feet
- Permit/Pass Required: None required
Where to Camp:
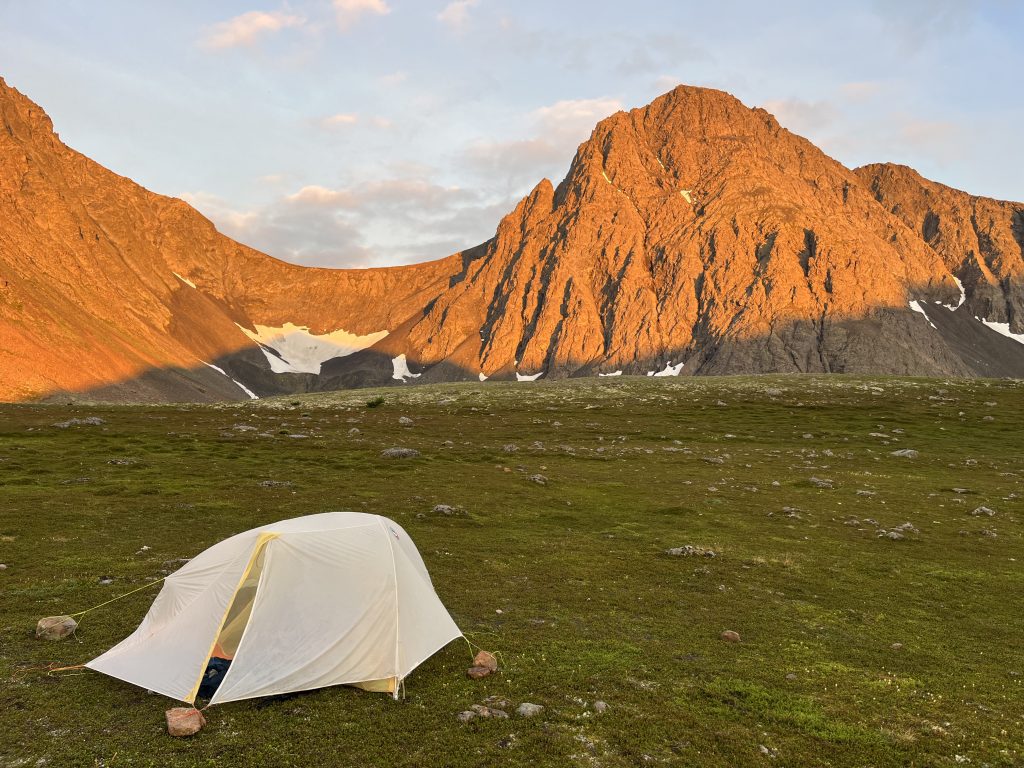
Camp near Rabbit Lake, a serene and scenic spot with access to water, making it an ideal overnight location.
Itinerary:
- Day 1: Start your hike from Rabbit Lake Trailhead and follow the well marked trail to Rabbit Lake. Once at the lake, set up camp and take in the quiet, stunning surroundings. Be prepared here as well as the wind can get strong and cold as it rips through the valley.
- Day 2: Begin your summit attempt of South Suicide Peak early. After summiting, head back to camp, pack up, and return to the trailhead.

4. Crow Pass
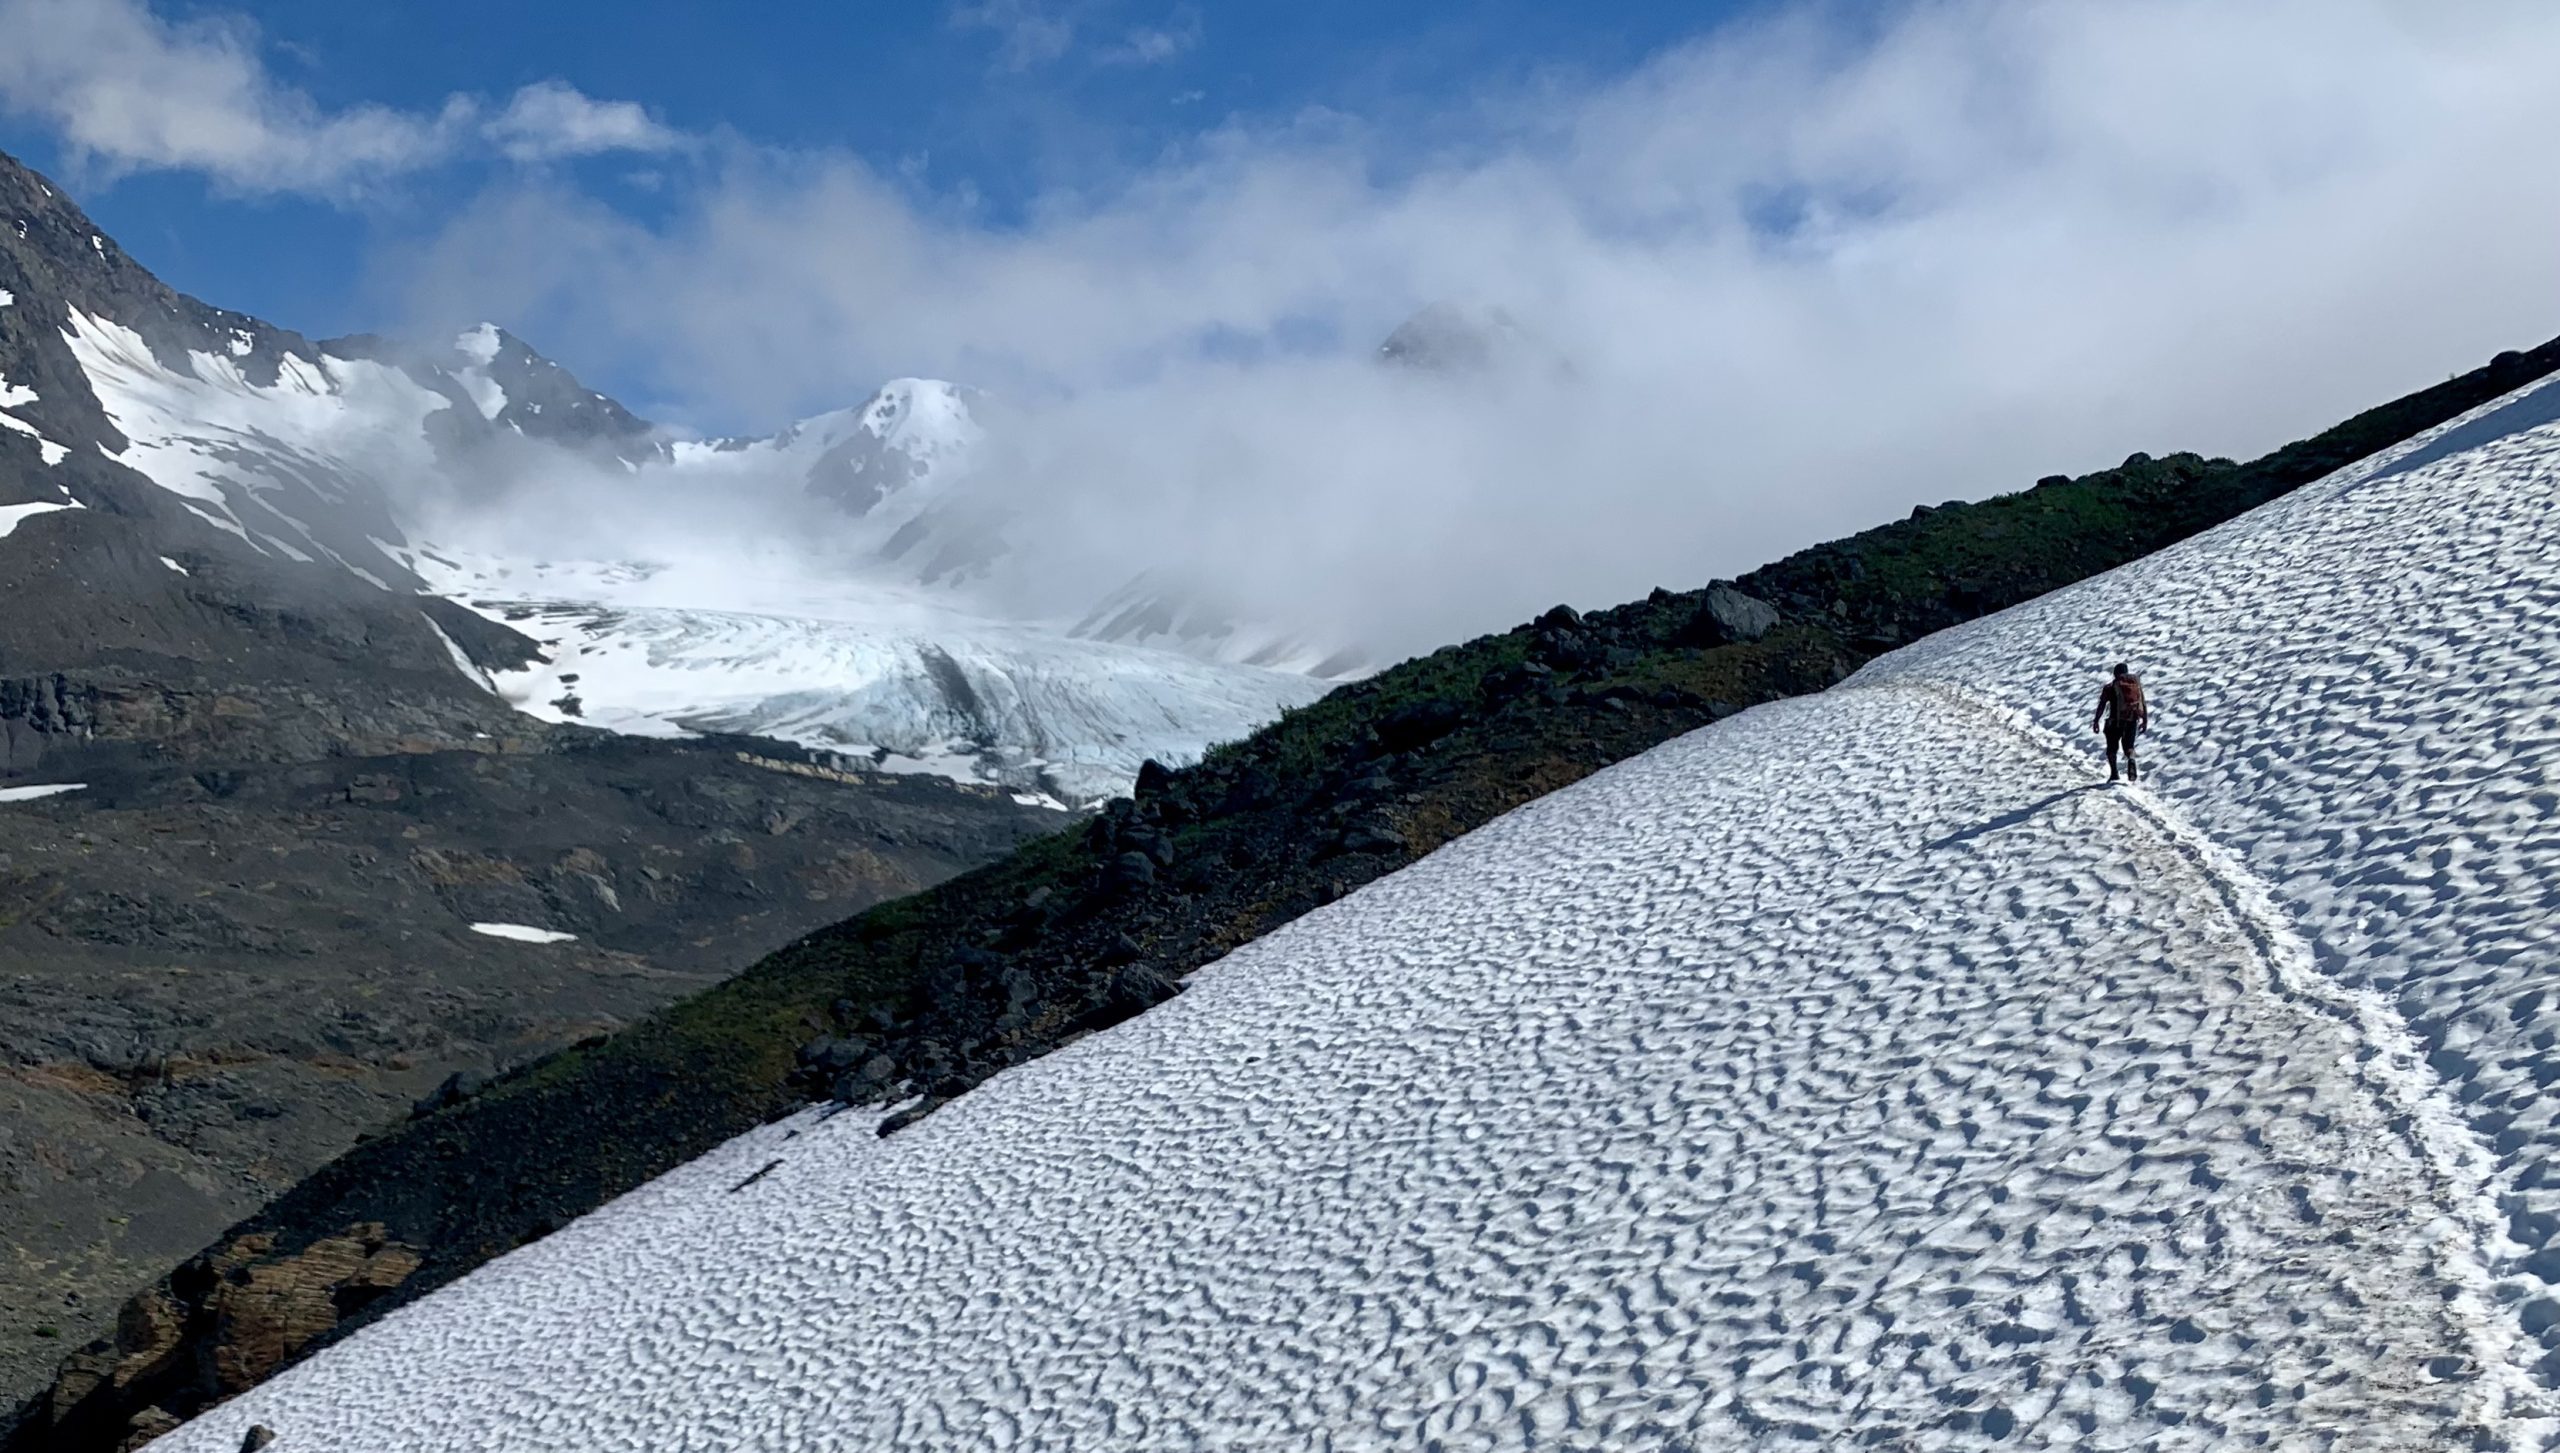
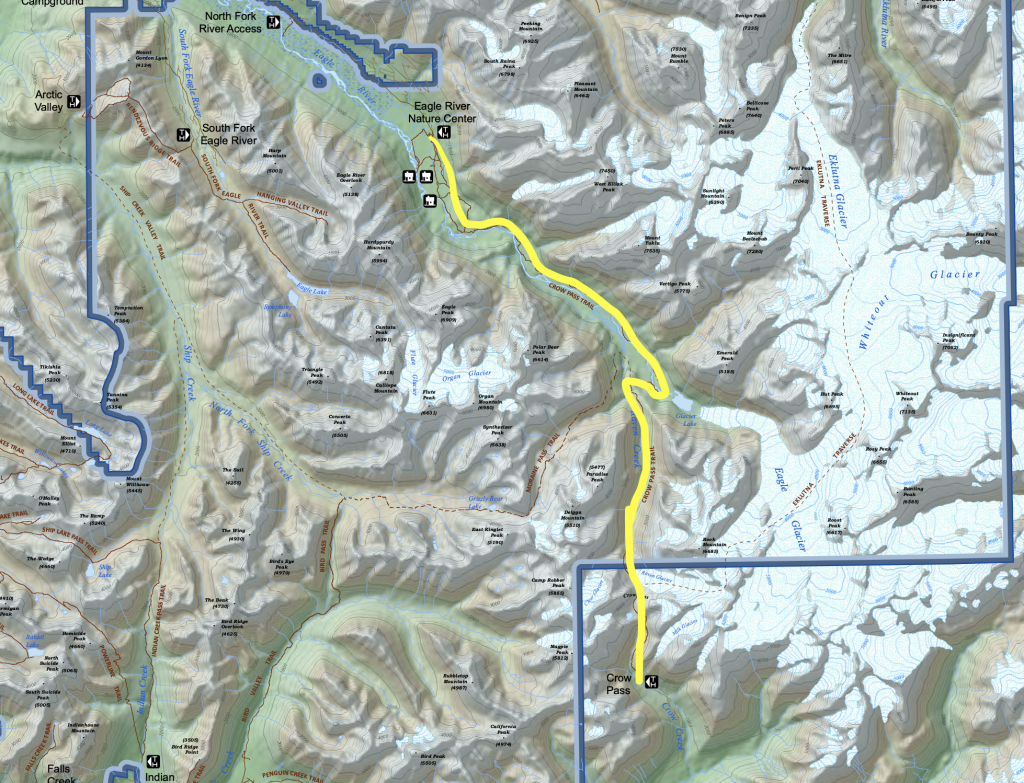
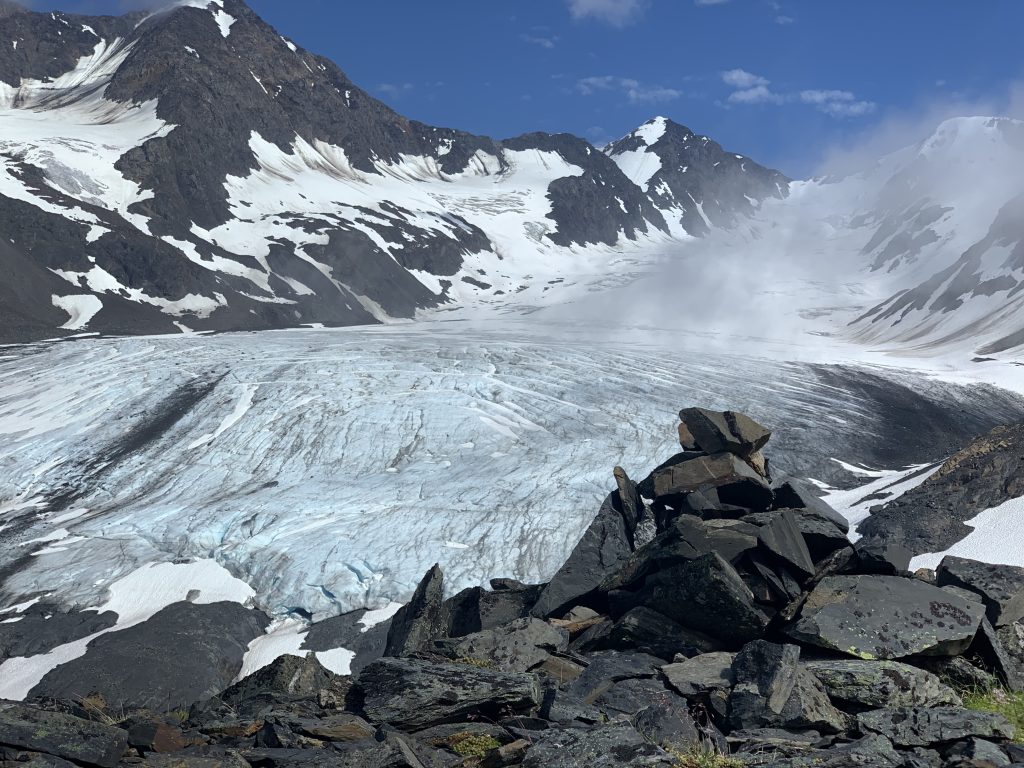
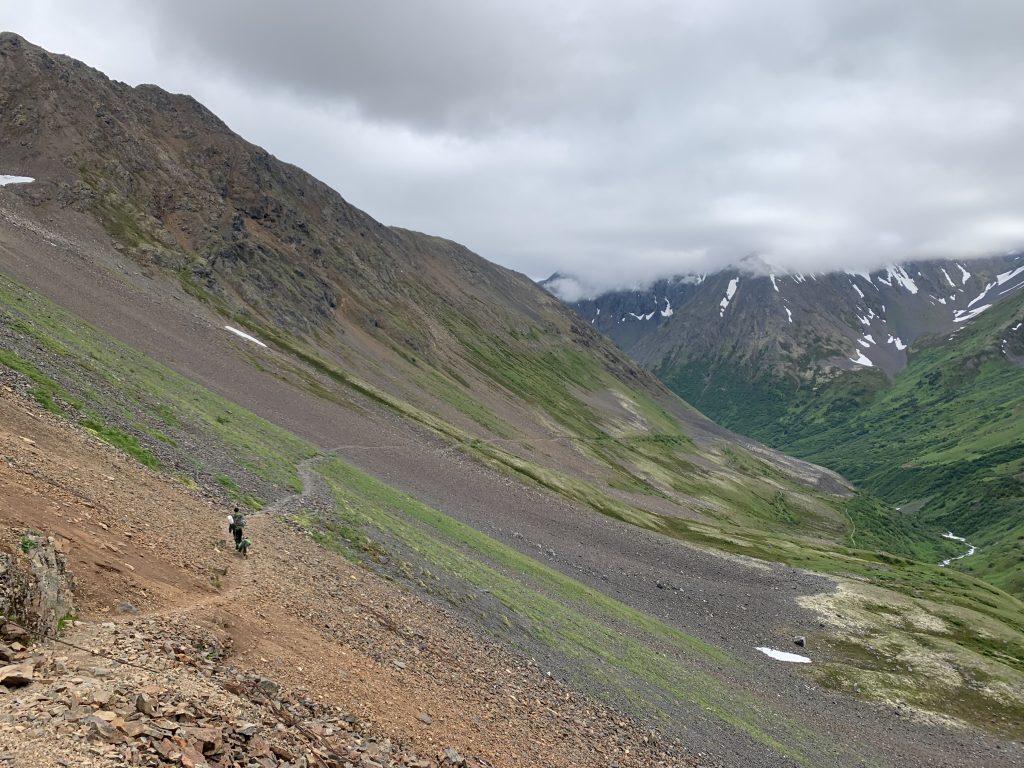
This is probably the most iconic Anchorage backpacking trip. It takes you from Eagle River valley all the way to Girdwood, passing through the back range of the Chugach and bringing you up close and personal with a stunning glacier (Raven Glacier). The trail itself is well marked and defined, but the river crossing can be very challenging and there is likely going to be snow up in the pass. It’s recommended to go a little later in the season, after the snow has melted a bit. Another tip is to cross in the morning if you can. You can check out the conditions of the trail and river here.
Now, you have two options for how to do this hike. The first, is starting in Eagle River and the second is starting in Girdwood. Personally, I prefer to start in Eagle River simply because, if the river is too dangerous to cross, I don’t have to hike the pass again. However, if you know the river will be ok, then start at Girdwood, as it will set you up to camp at Crystal Lake.
Just to reiterate, the most difficult park of this route is:
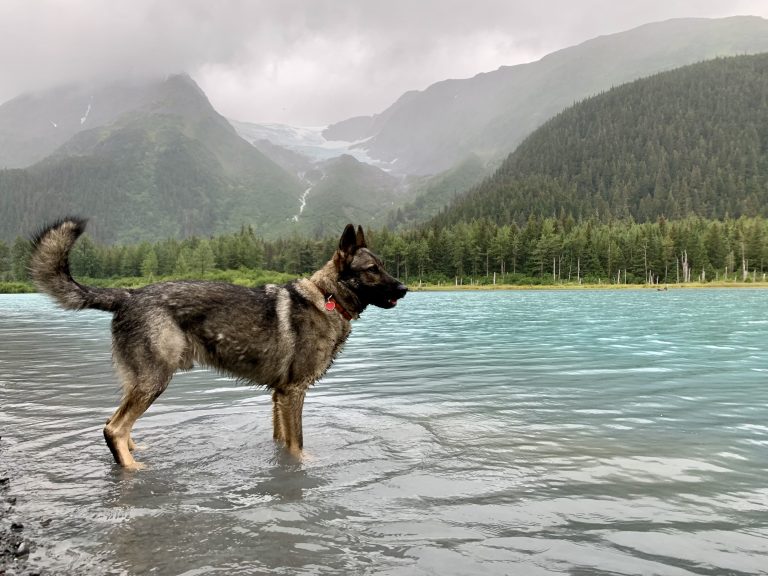
- The river – I highly recommend crossing with someone else. The water can be up to your thighs or higher. Know how to cross glacial rivers. I don’t recommend doing this in sandals as you might fall and, anyways, the water is going to get you very wet. The river is quite wide, so it will take some time to cross and you will be very cold on the other side. Make sure all of your gear is in waterproof bags or trash bags. For more details on this, read my guide on crossing Alaskan rivers. You can die here if you aren’t knowledgeable and careful. Also, I had to carry our German Shepherd across because the water was waaaay to high and swift for him. I would recommend trying to cross the river in the morning, before the afternoon sun has melted more snow.
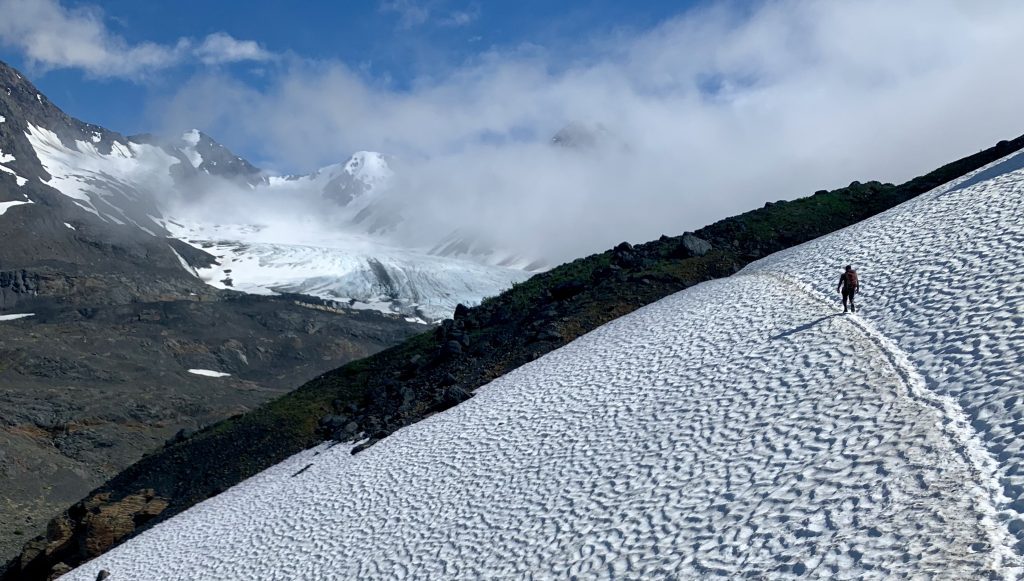
- Crossing the snow patches – You will be crossing some steep snow patches. If you happened to slip and fall on them, you would gain a lot of speed and hit the rocks below. You might die in such a situation or break your leg. Be very careful. If you want to be safe, bring some spikes like these ice cleats. If you want to be very safe, also bring an ice axe so you can arrest your fall – in case. Personally, I didn’t bring either. I just was very careful. But I recommend at least having spikes.
You will have to find a way back from Girdwood to Eagle River, but usually you can hitch hike. We parked a car in Girdwood and hitched from the end of the trail to our car.
- Trailhead: Crow Pass Trailhead (if starting in Girdwood) / Eagle River Nature Center (if starting in Eagle River)
- Distance from Anchorage: 40 miles
- Distance: 21 miles point-to-point (for a shorter trip, opt for an out-and-back route)
- Elevation Gain: 3,500 feet
- Permit/Pass Required: Eagle River Nature Center Parking Fee ($5 per day)
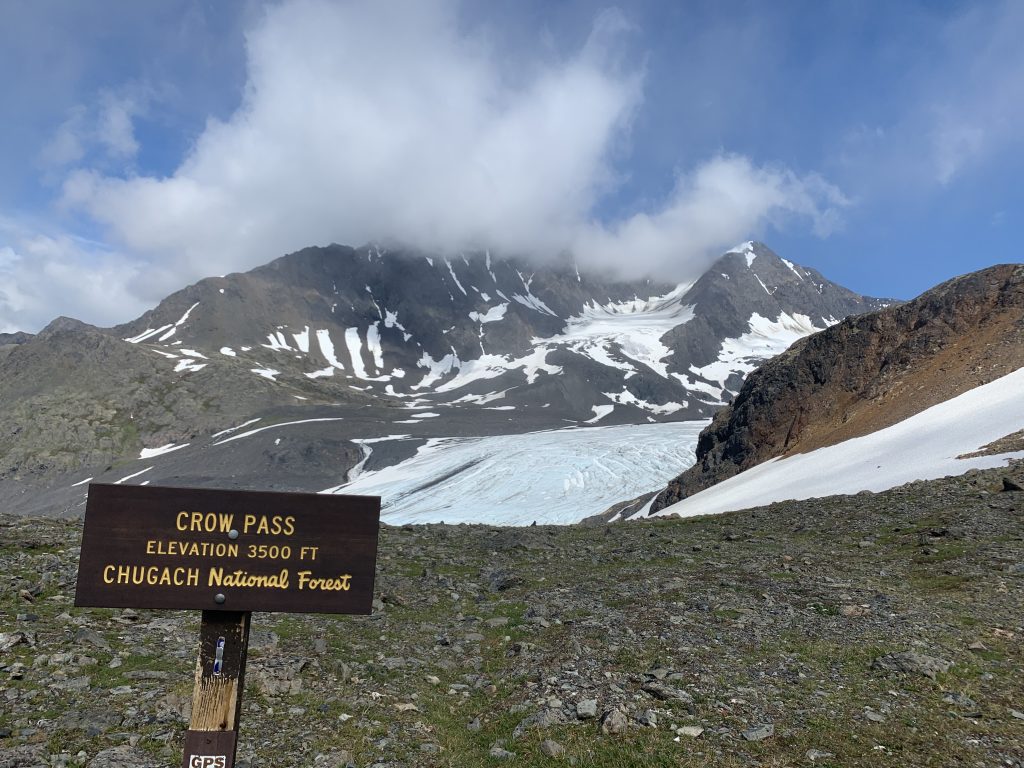
Where to Camp:
There are established campsites at mile 1.7, mile 3, mile 5.5, mile 6, and mile 9 (from Girdwood). My favorite spot is to camp near Crystal Lake. There is a cabin available for rent there. However, there are plenty of other good camping spots all along the trail. However, if you camp in the pass, you will have a difficult time finding water.

Itinerary:
- Day 1: Begin at the Crow Pass TH in Girdwood and hike up to Crow Pass. Set up camp near Crystal Lake for the first night.
- Day 2: Pack up and continue up past Raven Glacier. You will then make a long descent towards Eagle River valley. Once you hit the valley, you’ll cross the river and make a nice long, mostly flat hike back to Eagle River.
5. Upper Reed Lakes
This is also an incredible hike in the Talkeetna mountains of Hatcher’s Pass. It can be turned into a 3 or 4 day trip by tacking on the Bomber Glacier Traverse which is simply my favorite backpacking trip in the world.
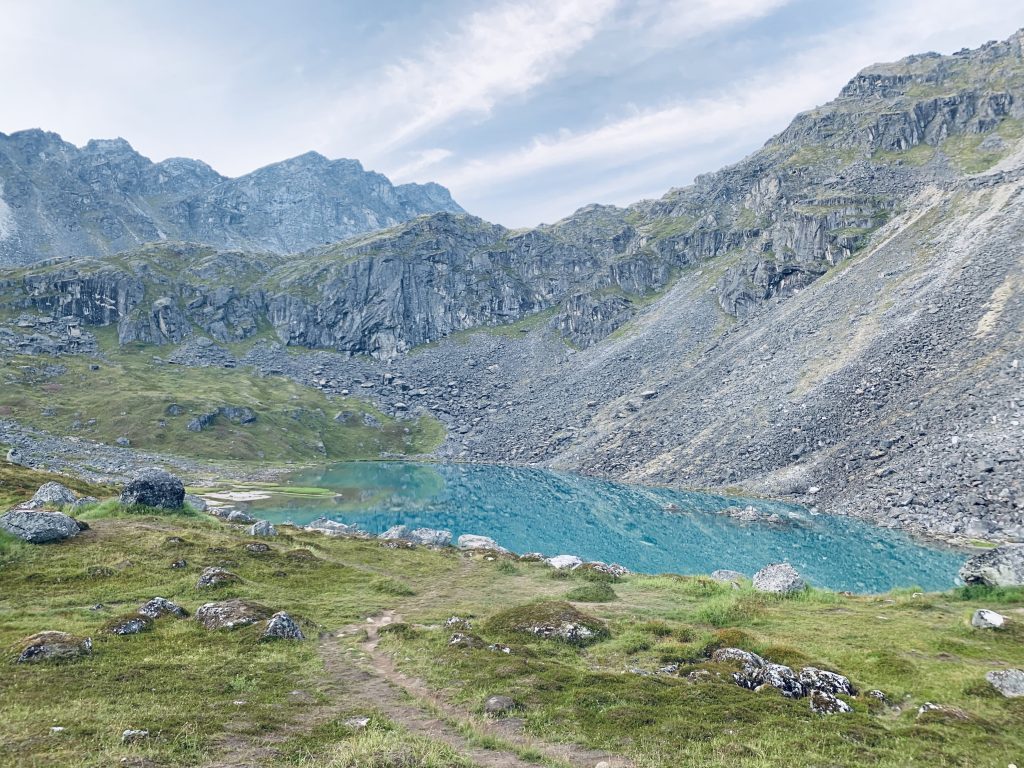
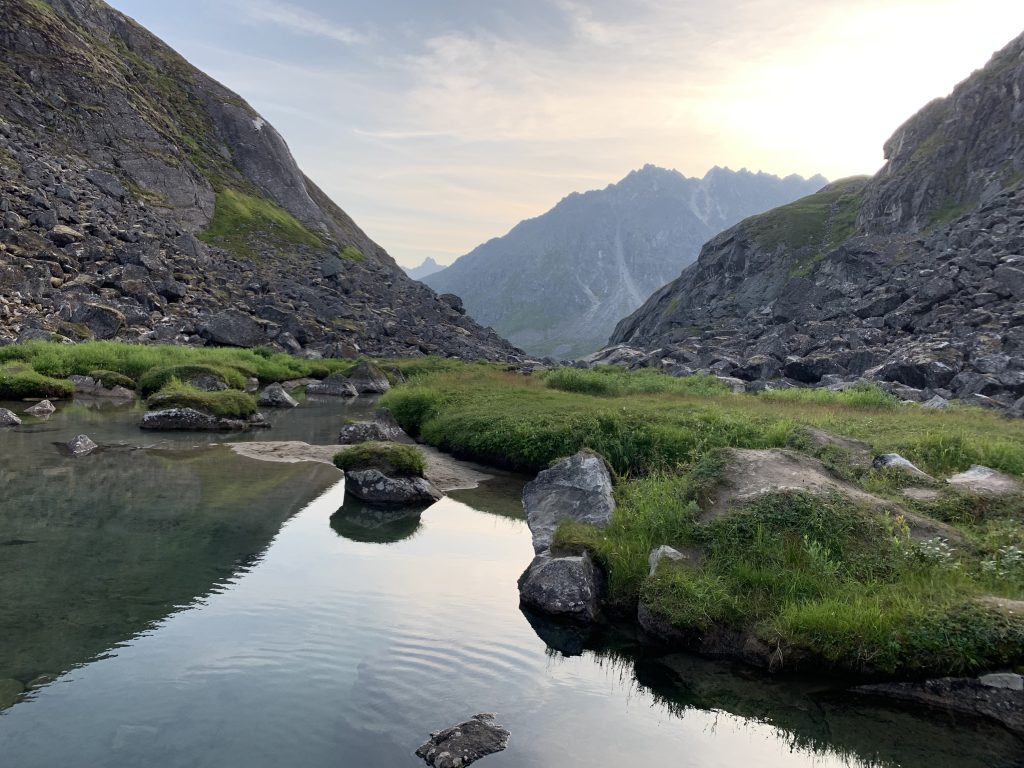
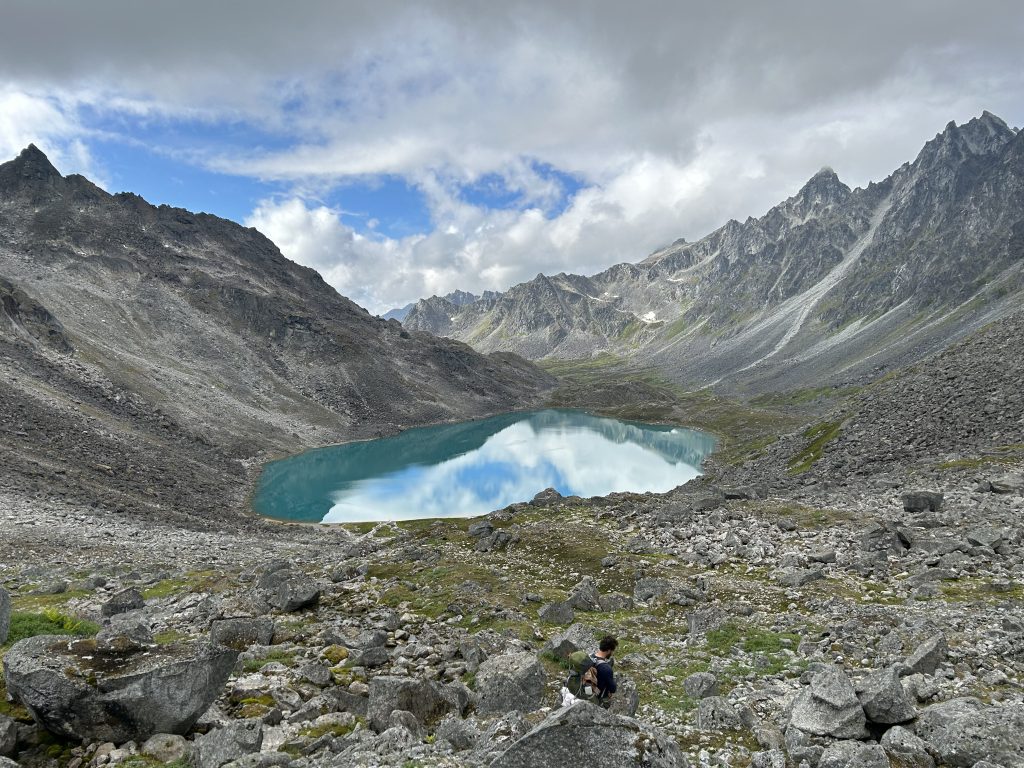
But even if you’re just doing the Reed Lakes hike, it’s an incredible trek to two of the prettiest alpine lakes I’ve ever seen. The trail starts in Hatcher’s Pass, near Palmer, which is just over an hour drive from Anchorage. The trail is quite straight forward. You’ll pass some gorgeous, super clear pools in the lower parts of the hike that I highly recommend swimming in.
This is a downloadable map you can use, although it’s not amazing.
- Trailhead: Reed Lakes Trailhead
- Distance from Anchorage: 60 miles
- Distance: 9 miles out and back
- Elevation Gain: 1,800 feet
- Permit/Pass Required: None required
Where to Camp:
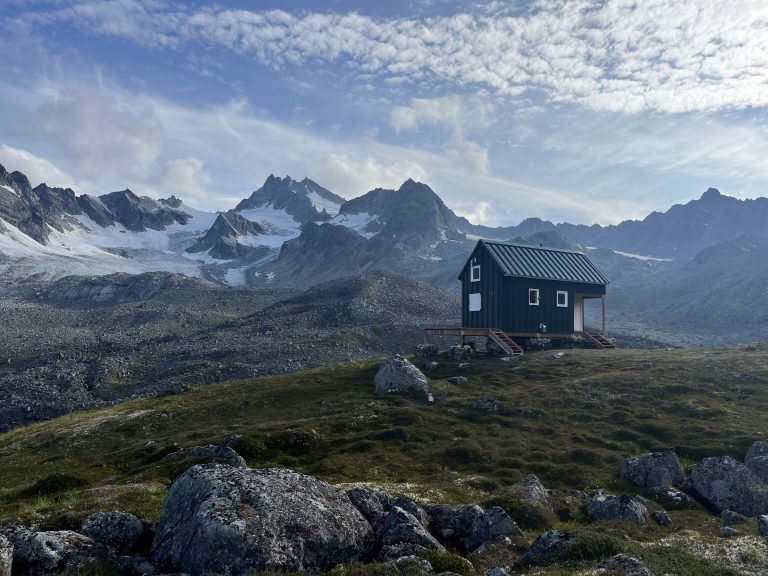
You have the option of camping either at Lower Reed Lake which is the first lake you’ll reach or Upper Reed Lake. Upper Reed Lake has the more dramatic scenery, but it’s rockier and more exposed.
Itinerary:
- Day 1: Begin at Reed Lakes Trailhead, trekking through boulder fields and alongside waterfalls until reaching Upper Reed Lake. Set up camp.
- Day 2: Spend the morning exploring the area. If you want, you can hike up to Bomber Pass to get a view of the glacier. Or simply enjoying the views before packing up and hiking back to the trailhead.
Summary
Any one of these five, overnight backpacking trips near Anchorage will knock your socks off. There’s simply nothing like this in the lower 48. I’d recommend tackling either Williwaw or South Suicide if you’re looking to bag a peak. If instead you’d love to see a glacier and do a through hike, then take on Crow Pass. If you want a calmer trip, take on Reed Lakes. And if you’re looking for a gorgeous lake and a not-too-difficult peak, take on Triangle Peak.
Remember to respect the unpredictable Alaskan weather and prepare thoroughly, bringing lots of layers and rain gear. Stay safe and happy hiking!
