Climbing Chimborazo, Ecuador’s highest peak, is an exhausting, terrifying, and epic adventure. This extinct volcano, reaching 6,263 meters (20,548 feet), is known as the point on Earth closest to the sun due to its location and the Earth’s equatorial bulge. It’s also widely considered to be the highest non-technical mountaineering climb in the world.
If you’re called to climb Chimo – as I was in the summer of 2023 – I applaud your courage. Despite being “non-technical,” it is an incredibly difficult climb and not for the feint of heart. 20,500 feet is no laughing matter and it will quite literally take your breath away. Of the three groups who went up that night, two made it and one turned back. For or those ready to take on the challenge, this guide offers everything you need to know to make your climb successful and memorable.
Before you hop in, you can check out this article I wrote about what it felt like climbing Chimborazo.
Why Climb Chimborazo? Unique Highlights of Ecuador’s Highest Mountain
Unique Position
Chimborazo is special: it’s the closest point on Earth to the sun, thanks to the planet’s bulge at the equator. Climbers from around the world are drawn to this unique landmark, making it a bucket-list destination for adventurers.
The Challenge
Climbing Chimborazo is technically demanding, with glacier travel, high-altitude challenges, and varying weather. Yet, it remains accessible to climbers with the right preparation, offering an exhilarating experience and a sense of accomplishment. As I mentioned before, it’s the highest point you can get to without having a lot of technical experience.
The Summit
There is nothing quite like standing on top of Chimbo. Truly, it is a once in a life time experience.
How to Know If I Can Climb Chimborazo?
Physical Fitness
You need to be in good shape to climb Chimborazo, but you don’t have to be an elite athlete. Personally, I am in good shape, have grown up backpacking, and had done a fair amount of hiking in the months before the climb, and it still kicked my ass.
I would highly recommend focusing on building cardio endurance, leg strength, and flexibility. Prepare with activities like hiking, running, and strength training, focusing on muscles used for steep ascents. I would really work on balance as well.
Fear
While this mountain is not technical, you will be walking on snow bridges edged by sheer cliffs. Much of your climb you will be taking switchbacks up an ice slow that is about 70 degrees. If you have never been at such an altitude, you may be surprised by how steep this is. I was. I was certainly afraid. The question for you is whether you’re willing to be afraid, stay calm, and keep going.
I would say that if you are an experienced hiker or backpacker, are in decent shape, and are willing to be afraid and uncomfortable and keep going, then you can do it. I certainly did not have an easy time with it, but it was my first summit above 17000 feet and I’m not in incredible shape, and yet I did it.
Best Time of Year to Climb Chimborazo for Ideal Weather and Fewer Crowds
Weather Conditions
The best time to climb Chimborazo is during Ecuador’s dry seasons, June-August and December-February. These months offer more stable weather, though high-altitude conditions can still be unpredictable. Be prepared for sudden changes.
Avoiding Crowds
Peak seasons bring more climbers, so consider climbing just outside these times to experience Chimborazo with fewer people. Always consult your guide about ideal timing based on your preferences and local conditions. I climbed in June and there were only three other groups on the mountain that night with me. It was not very busy at all.
Chimborazo Climbing Routes: Veintimilla Route and Alternative Paths
Standard Route: The Veintimilla Route
The Veintimilla route is the most popular path, beginning at the Carrel Hut at 4,850 meters. Climbers move to the Whymper Hut at 5,000 meters before beginning the glacier ascent. This route is relatively straightforward but still requires technical glacier skills. This is the route that I did and likely, the route you will as well.
Alternative Routes
- El Castillo Route: Known for its steeper sections and technical challenges, El Castillo is less trafficked and demands advanced skills.
- Direct Route to Whymper Summit: This route bypasses Veintimilla but is more challenging, often chosen by experienced climbers seeking a direct path.
Acclimatizing for Chimborazo: Tips for High-Altitude Preparation
Why Acclimatization is Essential
Proper acclimatization is crucial to avoid altitude sickness. Chimborazo’s extreme altitude makes it essential to spend time at lower altitudes to allow your body to adjust. Even if you don’t get “sick,” you definitely feel the effects of the altitude. I threw up on the way down and felt exhausted the entire climb up.
I recommend that you spend at least a week at around 3000m and climb at least two 15000+ mountains. If you want to be really well acclimated, I would spend like 10 days around 3000m, climb Illinizas North and spend the night in the hut, climb either Cayambe or Cotopaxi, and then just do a lot of physical activity and day hikes. Eat well and sleep well.
My Acclimatization Schedule
When I originally arrived in Ecuador, I did not know whether I was going to try to climb Chimbo, but I did know I wanted to do some hiking. What I ended up doing was:
- I spent two days in Quito (2,850m) just chilling around the city. If you want, you can set out and climb Ruku Pichincha (4,784 m).
- Then I spent three days hiking the Quilatoa Loop (between 2,700m above sea level to 3,914m).
- Spent two days climbing Illinizas North (5,126m) and overnighted it in the hut.
- Then I spent 3 days in my guide’s village – El Chaupi (3336m) – which is right next to Illinizas. During my stay, we summited Sincholagua (4893m).
- Then we headed for Chimbo. We spent the evening in the refuge and then summited it that night.
Best Places to Acclimatize
- Quito (2,850 m): Ecuador’s capital provides a great base with plenty of hikes to help you adjust.
- Illinizas North (5,126m): Quite a climb, but not technical. You can spend the night at the refuge which is great for acclimation and terrible for a good night’s sleep.
- Cotopaxi (5,897 m): A climb up Cotopaxi can serve as a valuable warm-up, preparing your body for Chimborazo’s height.
- Cayambe (5,790 m): Another high-altitude peak that provides excellent acclimatization.
- El Chaupi (3336m): A quaint little town near Illinizas. It has many mountains in the area.
Suggested Acclimatization Schedule
- Day 1-3: Spend time in Quito with light hikes.
- Day 4-5: Climb a lower-altitude mountain like Cotopaxi or Cayambe.
- Day 6-7: Rest before attempting Chimborazo.
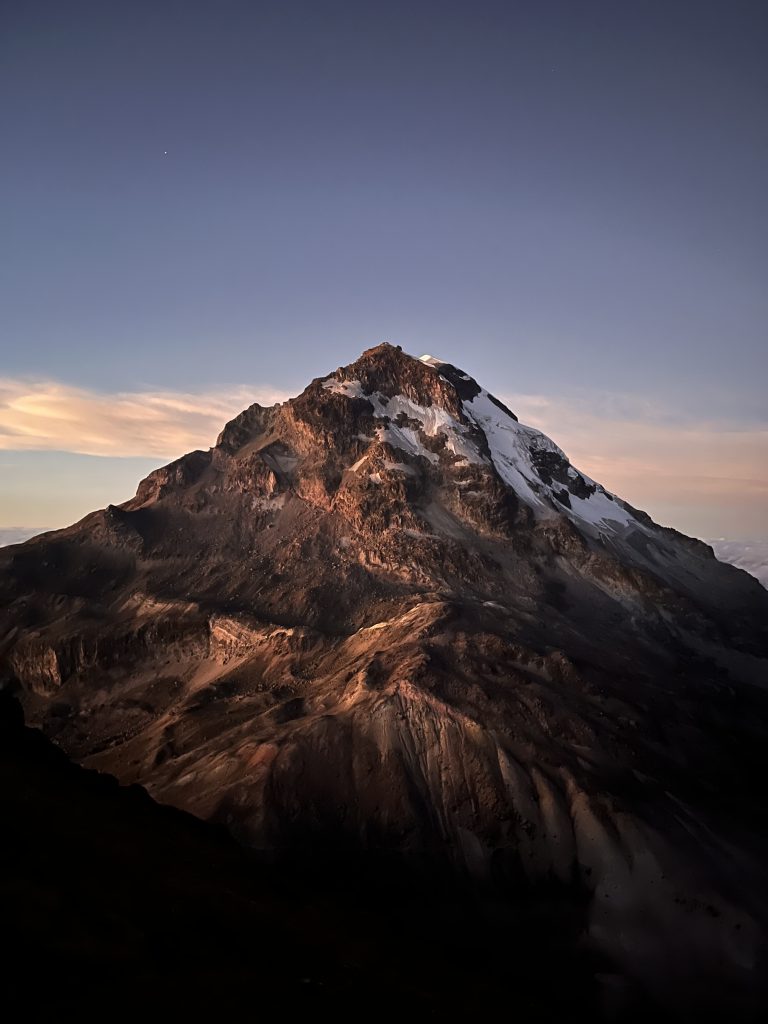
If you’re preparing for Chimborazo, Illinizas Norte is a fantastic acclimatization hike. At 5,126 meters (16,818 feet), it offers the altitude exposure you need without the technical requirements of Chimborazo, making it an excellent practice mountain.
Additionally, if you’re looking for more options to build stamina and adjust to Ecuador’s high altitudes, Sincholahua and the Quilotoa Loop are also fantastic hikes. Sincholahua gives you a taste of rugged high-altitude conditions, while the Quilotoa Loop is ideal for building endurance over multiple days, allowing you to enjoy the beautiful Andean landscapes and prepare for the challenges of high-altitude climbing.
Booking a Chimborazo Guide: Costs, Tips, and Choosing the Right Service
Why You Need a Guide
I highly recommend having a guide to take you up the mountain. This is not a climb you should attemt alone. You need, at the very least, to be roped into someone else. Also, it’s very unlikely that you’ll be able to find the right route without an experienced guide.
Selecting a Guide Service
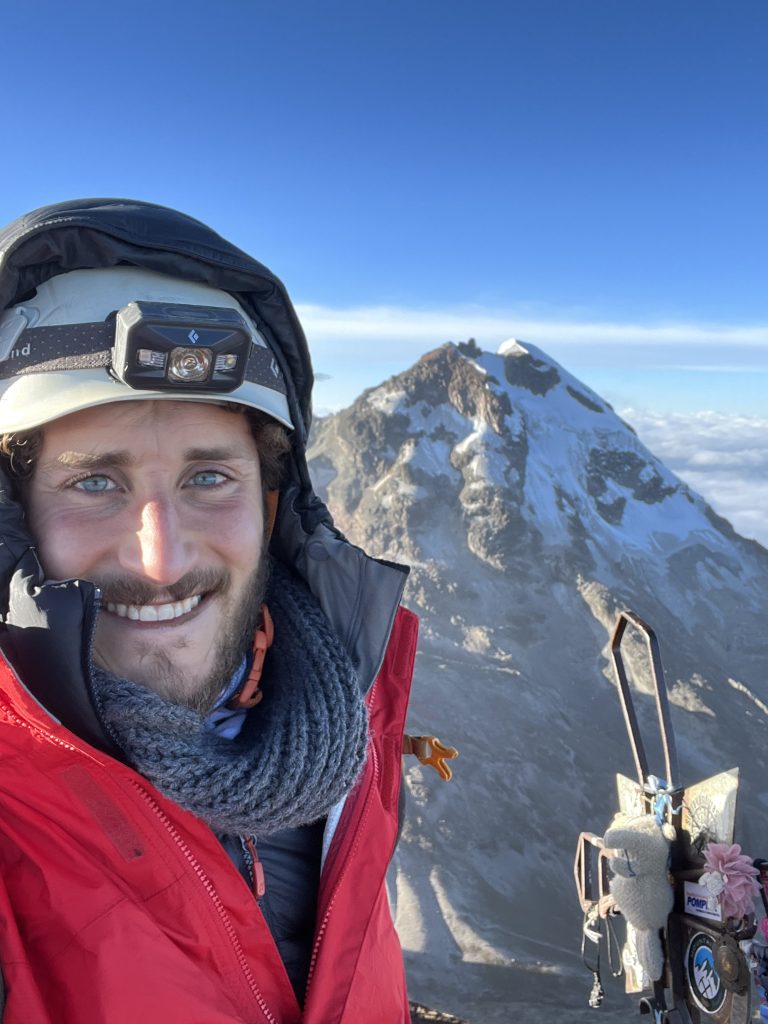
You can certainly book a climb with one of the many reputable tour companies advertising on the internet. They range from $500-$750 a person (not including equipment). Personally, I found a local guide who also took me up Illinizas. I joined him as an assistant guide on Sincholahua which was a great experience. And I also stayed with him and his family in El Chaupi for a few nights before the climb.
His name is Frank. I highly recommend him. His number is: +593 99 457 4704. Tell him that Noam from Alaska recommended him.
Expected Costs
The climb cost me:
- $250 for a solo accent
- $50 for the transportation to and from the mountain
- Another approximate $50 for my gear rental. Frank gave me what gear he had for free.
- $30 to spend the night in the lowest refuge.
Alternatively, you can just book an all-inclusive tour with these Ecuador Eco Adventure for $600. They also provide insurance, something I did not have.
Recommended Gear List for Climbing Chimborazo
Climbing Chimborazo requires specialized equipment to safely navigate high-altitude, glacier-covered terrain. While most climbers bring their own essentials, it is possible to rent gear in Ecuador. I personally went with the advice of my guide, Frank, and rented gear from a place in El Chaupi.
I included the gear I brought. I was warm enough when moving, but the howling wind and freezing air definitely was cold enough that I could not stop for long without starting to freeze. My guide knew this and kept the pace with very little breaks along the way.
Essential Gear for Climbing Chimborazo
- Mountaineering Boots
- Insulated, crampon-compatible mountaineering boots are crucial for warmth and stability on ice and snow. I rented these.
- Normal Hiking Boots
- The beginning of the climb is on rock. I highly recommend carrying a pair of hiking boots to switch into as, walking with mountaineering boots on rock, is very unpleasant.
- Crampons
- Essential, essential, essential for safe glacier travel. Ensure they are well-fitted to your boots. I rented these.
- Ice Axe
- Used for both climbing and self-arrest in case of a fall, an ice axe is a must for navigating Chimborazo’s slopes. I rented this.
- Climbing Helmet
- Protects you from falling ice or rock debris on steeper sections of the climb. Frank gave me a helmet.
- Harness and Carabiners
- Required for glacial travel and safety in case of a crevasse crossing. Most guides will provide or recommend specific harnesses and carabiners. Frank gave me this equipment.
- Headlamp with Extra Batteries
- The summit attempt typically begins in the early hours of the morning, so a reliable headlamp is necessary. I brought my own.
- Warm Clothing Layers
- Base Layer: Moisture-wicking top and bottom to keep you dry. I had my Smartwool Classic Thermal Merino Base Layer 1/4 Zip.
- Insulating Layer: Fleece or down jacket to provide warmth. I had my Rab Electron Pro Down Jacket.
- Shell Layer: Waterproof, windproof jacket (I brought) and insulated, windproof pants (Frank gave me) to protect from harsh weather conditions.
- Gloves
- A pair of warm, waterproof mittens and a thinner inner liner for flexibility. Frank gave me.
- Hat and Neck Gaiter or Balaclava
- Essential for protecting your face and neck from cold winds and UV exposure at high altitudes. I brought a scarf and Frank gave me a balaclava.
- Goggles or Sunglasses with UV Protection
- Absolutely necessary. UV rays are intense at altitude, especially with snow reflection. Glacier goggles or high-quality sunglasses with side shields are recommended. Frank gave me.
- Trekking Poles
- You can consider bringing these. I didn’t. We only trekked on rock for about 2 hours. Once we were on snow, I used my ice axe as a walking stick when necessary.
- Backpack (30-40L)
- A comfortable backpack to carry water, snacks, extra layers, and other essentials during the climb. I brought.
- Water Bottles or Hydration Bladder
- Staying hydrated is key at high altitudes. Insulated bottles are recommended to prevent freezing. My water froze.
- Snacks and High-Energy Foods
- Bring calorie-dense foods for energy, such as nuts, energy bars, and dried fruit. In truth, I was so exhausted on the climb up that taking my pack off was too much. I also felt very nauseous the entire time. I didn’t eat anything. I would recommend keeping some snacks very accessible.
- Personal First Aid Kit
- Include altitude sickness tablets, blister care, pain relievers, and any personal medications.
Safety Tips for Climbing Chimborazo: Altitude Sickness, Weather, and Emergencies
Altitude Sickness
Be vigilant for signs of altitude sickness, including headaches, nausea, and dizziness. The reality is that you will probably have some of these symptoms. I felt nauseous and slightly disassociated most of the way up. But be very careful to not push yourself too hard. Proper hydration, acclimatization, and rest can help minimize the risk.
Weather Hazards
Prepare for extreme cold, strong winds, and sudden storms. Dress in layers, carry extra water and food, and be prepared to turn back if conditions become unsafe. We, thankfully, had very good weather the entire time. But it was still freezing. I probably should have brought another layer.
Emergency Procedures
Have a plan in place with your guide service, including contingency measures for emergency descent and communication devices if available. Consider having health insurance that protects you at that altitude. Personally, I did not. I just risked it. I don’t really recommend that.
What Are the Dangers of Climbing Chimborazo?
Climbing Chimborazo is a serious high-altitude climb, and there are some dangers you should be aware of. Estimates suggest that over 30 climbers have died attempting to reach its summit, with fatalities attributed to falls, avalanches, altitude sickness, and exposure. However, it is also one of the safest 6000m+ mountains in the world.
The primary risks, in my opinion, are:
1. High Altitude and Altitude Sickness
Chimborazo’s extreme altitude—reaching over 6,200 meters (20,500 feet)—makes for brutal hiking conditions. Symptoms include headaches, nausea, dizziness, and shortness of breath. Severe altitude sickness can lead to life-threatening conditions like high-altitude pulmonary edema (HAPE) and high-altitude cerebral edema (HACE). This can happen, but acclimatization is crucial to mitigate this risk, and climbers should be prepared to descend immediately if symptoms worsen.
I did get sick and threw up, but was still able to finish the climb. But acclimate properly and be careful.
2. Severe Weather Conditions
High-altitude weather is notoriously unpredictable, and sudden weather shifts on Chimborazo can make for a very unpleasant trek, to say the least. These conditions can cause frostbite, hypothermia, and disorientation, particularly for climbers who are not prepared. Personally, this didn’t seem like such a concern to the climbers around me, and it seems like the weather is pretty predictably good during the right seasons.
3. Falling
The ascent to Chimborazo’s summit requires prolonged physical effort, often pushing climbers to their physical limits. You really should be prepared for this. Exhaustion, altitude, winds, and fear can make a fall more likely. You are roped into your guide, but he’s not roped in anywhere. I was easily twice his weight and I wasn’t so sure he’d be able to stop my fall if I started falling.
We did not practice ice axe safety and self arresting, but I had experience from previous Alaskan adventures. I would highly recommend familiarizing yourself with this, or at least demand a quick lesson from your guide.
4. Avalanche and Rockfall Risk
This is the biggest risk and the one you have the least control over. Sometimes shit happens. Chimborazo’s glaciers and rocky sections are prone to avalanches and rockfalls, especially in warmer weather when melting can destabilize snow and ice. If you get caught in a slide, there’s not much you can do. The odds are very low, but this is also why we climb at night, as the daytime sun loosens snow and makes it more prone to avalanches. If you do climb Chimbo, you should be aware of this risk and accept the (low) possibility that you die in an avalanche.
What to Expect on Your Chimborazo Summit Attempt: Ascent, Summit, and Descent
Overnight
You will spend the evening in one of the huts – either Carrel Refuge (4,850 meters – 15,912 feet) or Whymper Refuge (5,000 meters – 16,404 feet). The Carrel Refuge can be accessed by car and is a typical wooden building with meals and beds.
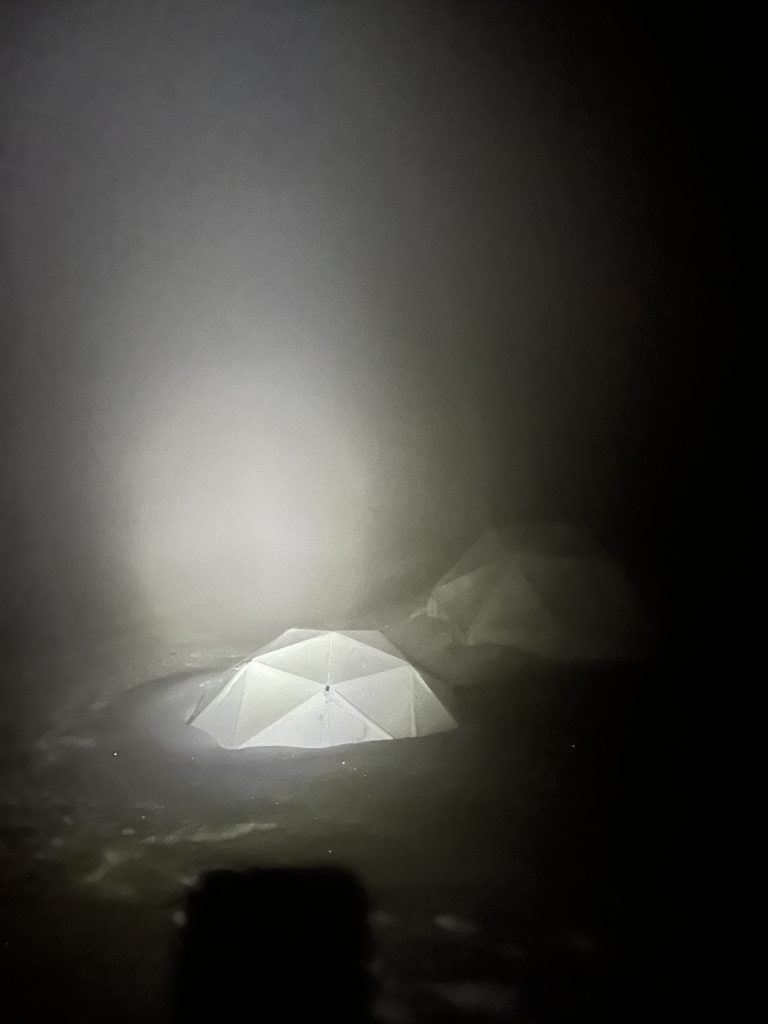
The Whymper Refuge is tents built in snow. It costs more to stay at the Whymper Refuge, but you save about two hours on the ascent. I personally chose to stay at the Carrel Refuge.
You will spend the evening in the refuge and begin the ascent at about 11pm or 12am. I tried to sleep but couldn’t because of the high altitude.
The Ascent
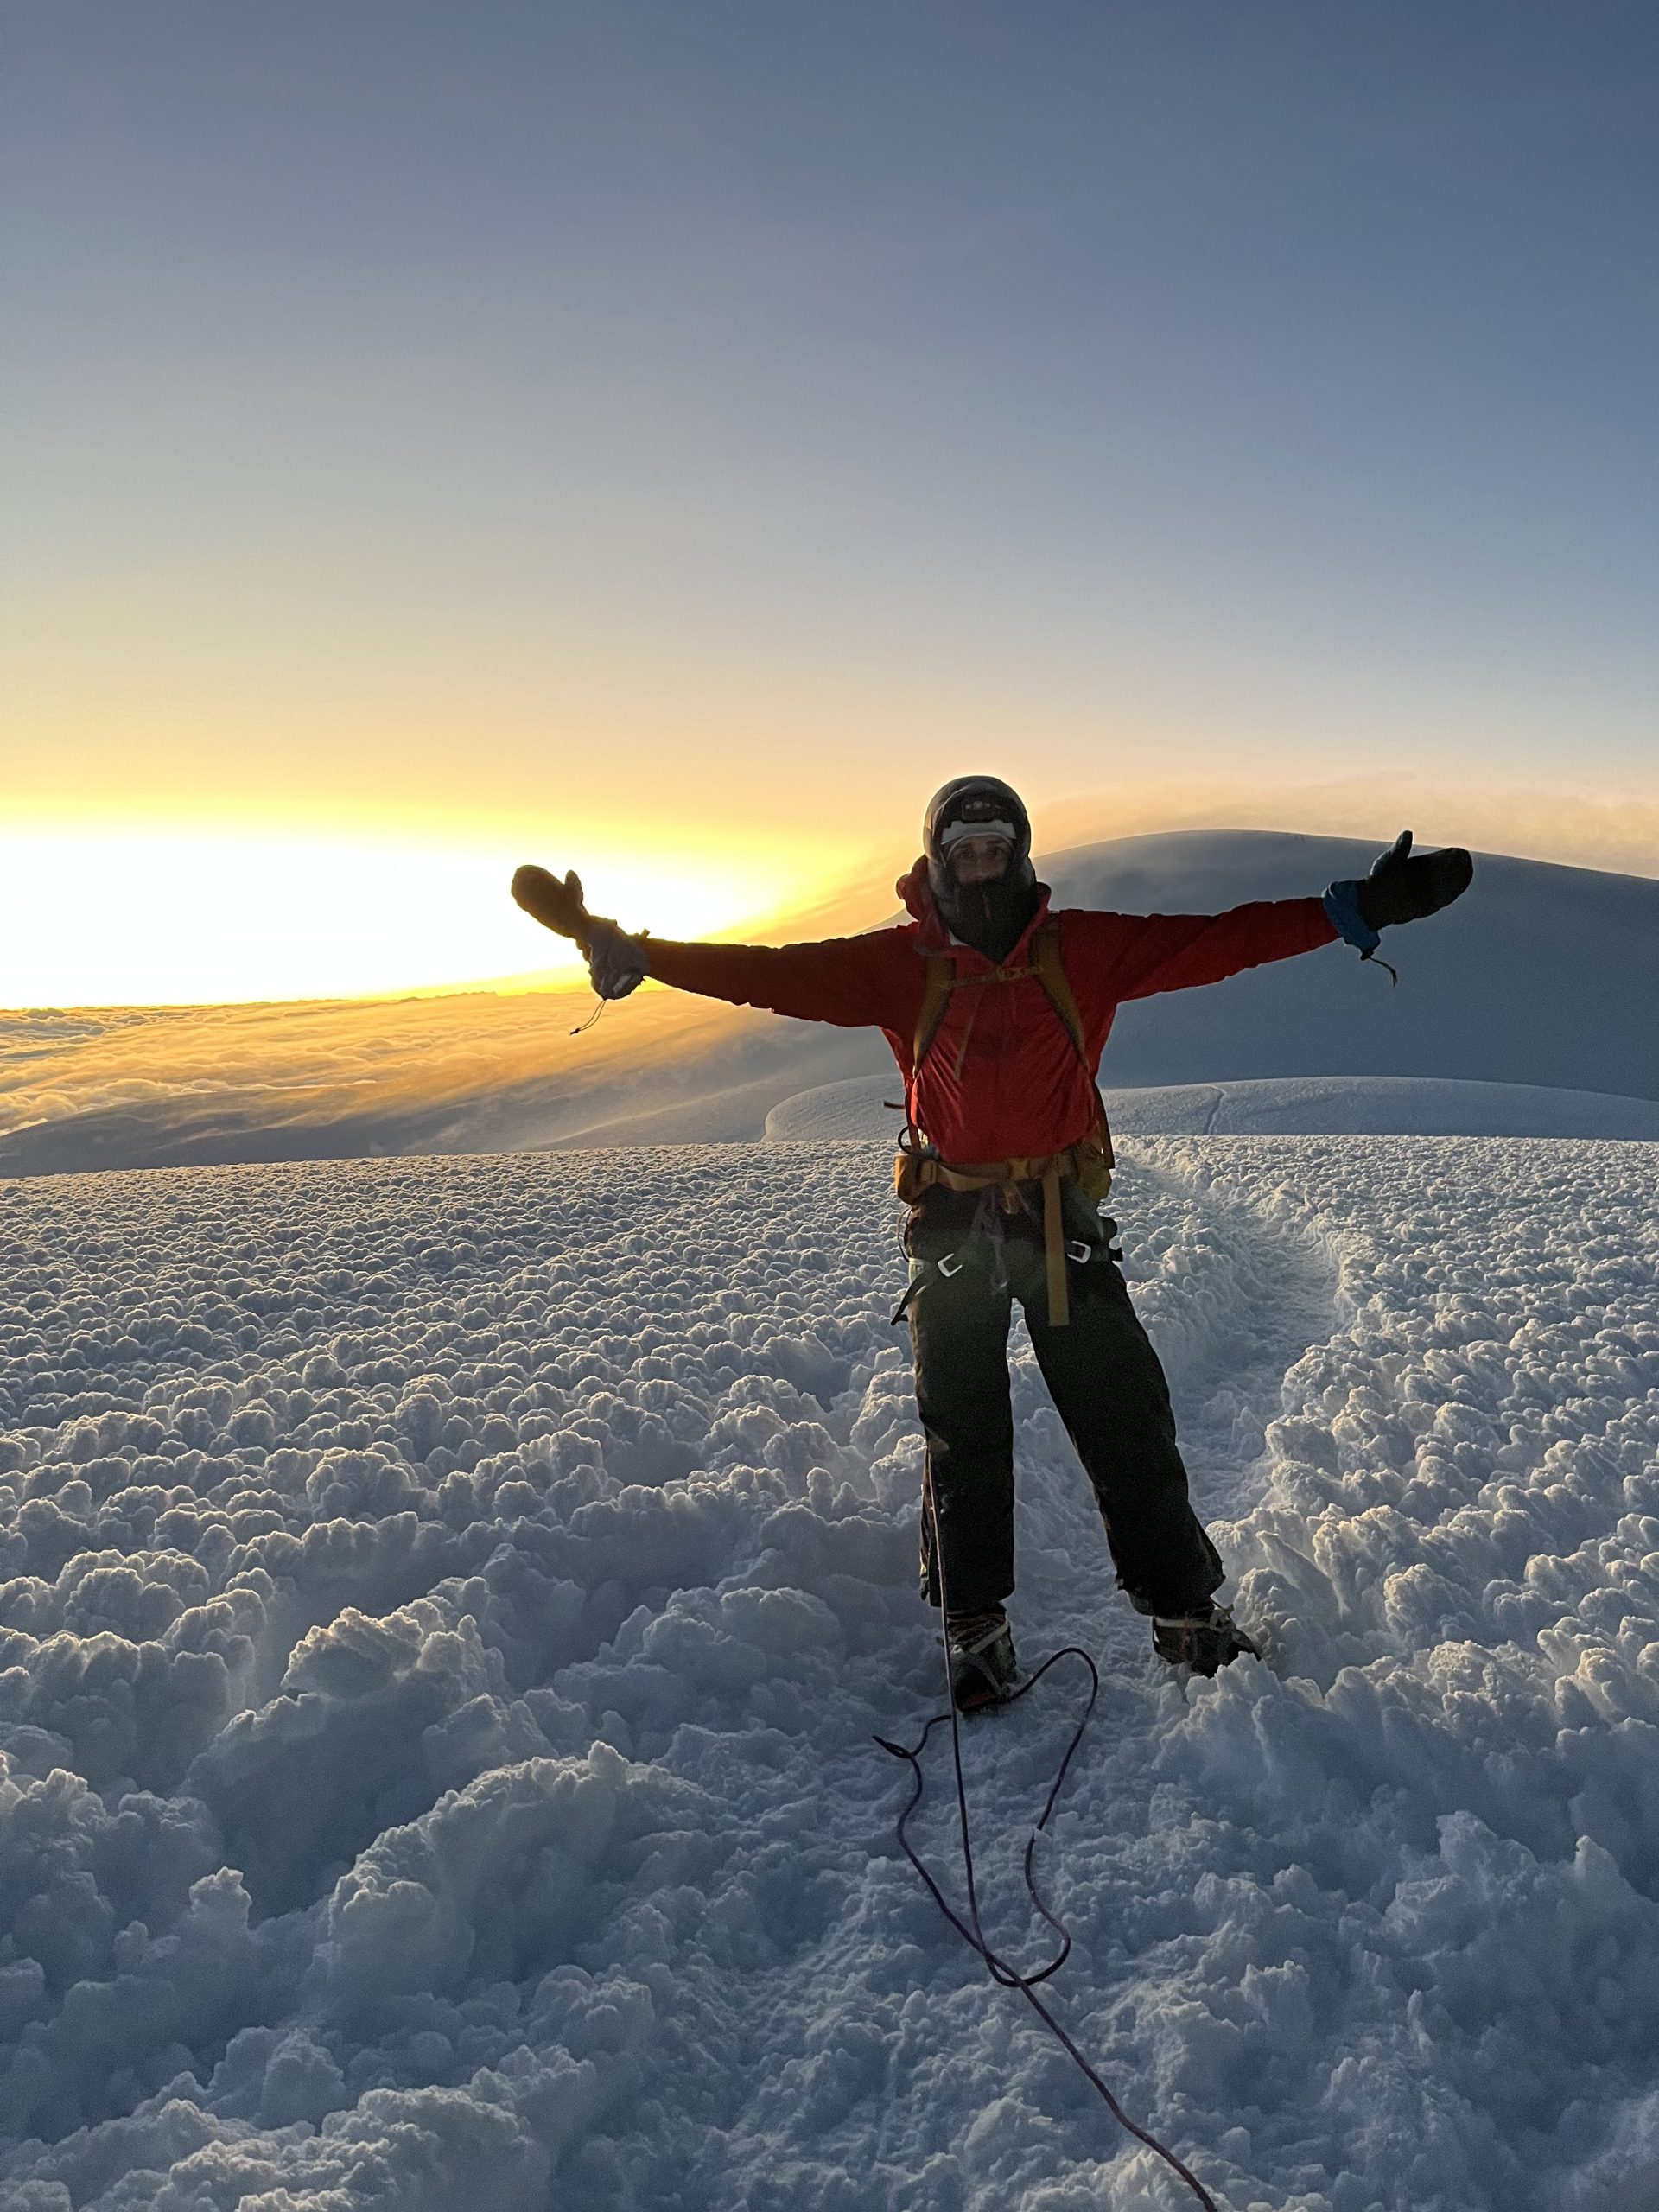
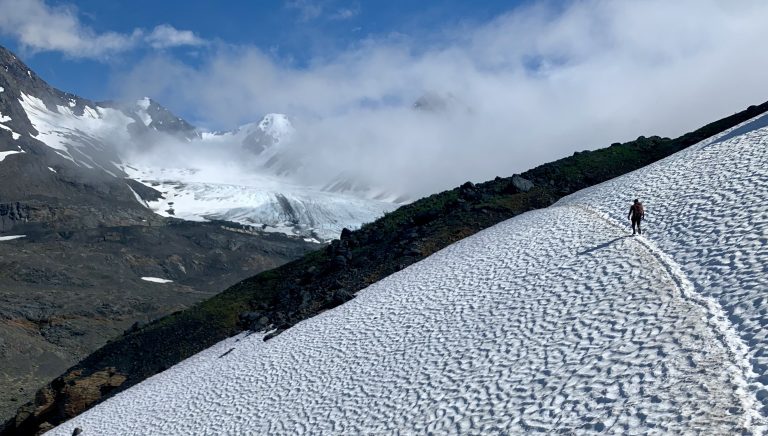
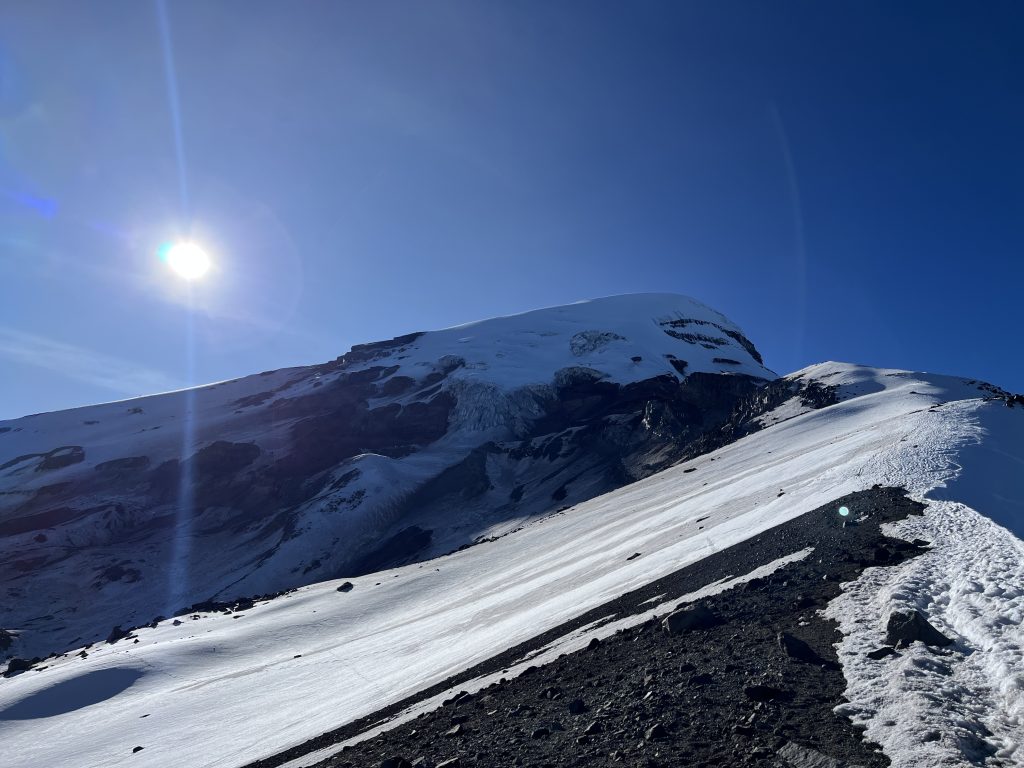
The first two hours are on rock. They’re just standard hiking. Then, once you hit the ice, you’ll stop, rope up, and put on crampons. You will then climb for about another 6 hours until you reach the summit. You won’t stop very often, mostly because the slope is so steep that there is no where to sit down, and because it is very cold when you stop.
Reaching the Summit
Upon reaching the Veintimilla Summit, you’ll experience a stunning view, with an option to continue to the slightly higher Whymper Summit if conditions are favorable. I didn’t end up making it to the second summit.
The Descent
Descending Chimborazo is a bit scary, but it’s very interesting to see the climb in the daylight. Be very careful here and don’t hurry. I ended up throwing up on the descent. You’ll get back to base camp at around 9 or 10am, about 10 or 11 hours after you set out.
My Essential Tips for Climbing Chimborazo
Climbing Chimborazo is an incredible adventure, but it’s also a serious challenge that requires careful preparation. Here are some important tips to help you maximize safety, comfort, and success on your journey to the summit:
1. Acclimate Properly
Proper acclimatization is key to handling the high altitude of Chimborazo. Spend a few days in high-altitude locations such as Quito or consider climbing smaller peaks like Illinizas Norte to prepare your body for the thin air. This will reduce your risk of altitude sickness and improve your chances of a successful climb.
2. Learn How to Use an Ice Axe Before Climbing
An ice axe is a critical tool on Chimborazo’s glaciated slopes. If you’re unfamiliar with using an ice axe, practice beforehand or take a glacier travel course. Know how to self-arrest.
3. Consider Getting Health Insurance
Most travel insurance won’t cover you at this altitude. I personally climbed without insurance, but I definitely don’t recommend it. Global Rescue costs about $534 which was frustratingly expensive. If you really care about insurance, tour companies often include insurance in their pricing. Also consider that health care and rescuing costs A LOT less in Ecuador than in America. So…even if you don’t get health insurance, an accident likely wouldn’t bankrupt you. But, make your own decision here.
4. Know That You Will Be Afraid
Climbing Chimborazo was very scary for me, especially if since I was facing high-altitude conditions for the first time. Trust in your preparation, listen to your guide, and breath.
5. Don’t Expect to Sleep Before the Summit Attempt
Most summit attempts begin around midnight, and the excitement and altitude can make it difficult to sleep. Don’t be discouraged if you’re unable to rest much before the ascent. Instead, focus on conserving your energy and resting as much as possible during the day.
6. Bring Easily Accessible Snacks and an Insulated Water Bottle
You’ll need fuel and hydration throughout the climb, so pack snacks that are easy to reach in your pockets or top of your bag. High-energy foods like nuts, energy bars, and dried fruit are ideal. Also, carry an insulated water bottle to prevent your water from freezing at high altitudes.
7. Don’t Expect to Take Many Pictures
The extreme cold on Chimborazo can make it difficult to take photos, as removing your gloves to handle a camera can be uncomfortable or risky.
Conclusion: Ready to Climb Chimborazo? Start Preparing for an Epic Adventure
It is an incredible experience summitting Chimborazo, and there aren’t many opportunities to reach such an elevation without technical skills. It’s also very affordable.
Start preparing, choose a reliable (local) guide, and immerse yourself in Ecuador’s stunning natural beauty. Know that it will be challenging, but if you approach it correctly, you will succeed.
